These easy molten chocolate lava cakes for two are perfectly portioned, made from scratch with six simple ingredients and no mixer required, and take 30 minutes start to finish. Use your highest quality dark chocolate for best results. Great for date night or Valentine’s Day dessert!
If you like these easy chocolate lava cakes for two, check out my Single Layer Chocolate Ganache Cake, Small Batch Fudgy Brownies (made in a loaf pan!), and Small Batch Double Chocolate Banana Muffins.
Why you’ll love this recipe
I am about to give you some very dangerous information. This rich, melty, positively sinful molten dark chocolate lava cake can be yours in about a half hour. You probably already have the ingredients in your pantry/fridge. And the recipe makes exactly two cakes.
You’ll love this recipe because:
- It’s the perfect dessert for Valentine’s Day, Galentine’s Day, date night, or anytime you require a rich chocolatey dessert.
- No mixer required – just stir together and bake!
- Ready in 30 minutes or less from start to finish — or prep the batter in advance and keep it in the fridge until you need it
- Six ingredients – pantry staples and very small quantity of each!
- Insanely easy to make – lava cakes seem intimidating but are actually one of the easiest desserts you can make, as long as you have two 8-oz ramekins (or other 1-cup oven-safe dishes).
- You can cut the recipe in half for a single serving molten chocolate lava cake. Or don’t, and have both cakes for yourself. I don’t judge 😉
This little lava cake recipe looks and tastes so impressive that everyone will think you’re a kitchen genius and no one, not even your significant other, will be the wiser.
Ingredients
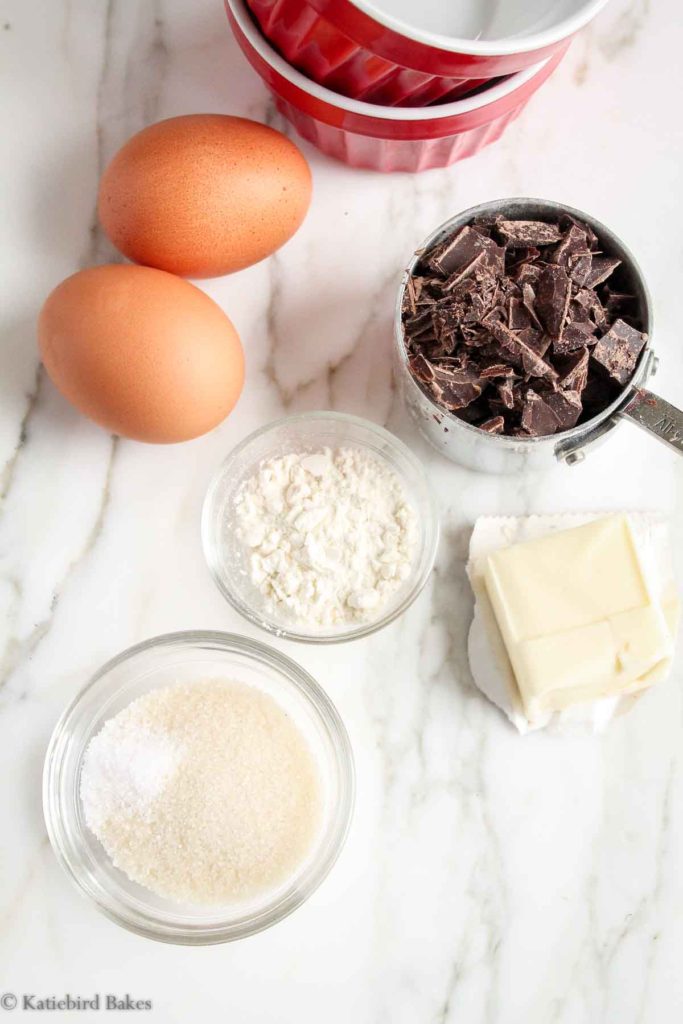
Only a few simple ingredients needed for these mini lava cakes, and you can substitute or customize as noted below to make these your own! See the recipe card at the bottom of this post for full ingredient list and measurements.
- 2 Tablespoons (28g) unsalted butter
- ½ cup (85g) chopped dark chocolate or chocolate chips (semisweet, bittersweet, etc all work)
- 4 teaspoons (17g) granulated sugar
- ¼ tsp salt
- 2 large eggs (no separating egg yolks here, hooray!)
- 2 teaspoons (5g) all-purpose flour (or oat flour, or gluten-free all-purpose flour)
- Vanilla ice cream and raspberries, for topping
Equipment Needed
- One microwave-safe large mixing bowl
- Whisk (or fork) and rubber spatula
- Kitchen scale – I highly recommend weighing your ingredients for most accurate results, especially the flour! This is the primary way I bake these days as it is much more precise than using measuring cups (and there are fewer dishes to clean).
- Two oven-safe ramekins or other small oven-safe dishes. 8-10 ounces is the size you’re looking for. 6-ounce ramekins would be too small for this recipe.
Recipe Steps
The ingredients and steps for these chocolate molten lava cakes couldn’t be simpler. Only one bowl required and no mixer!
Step One
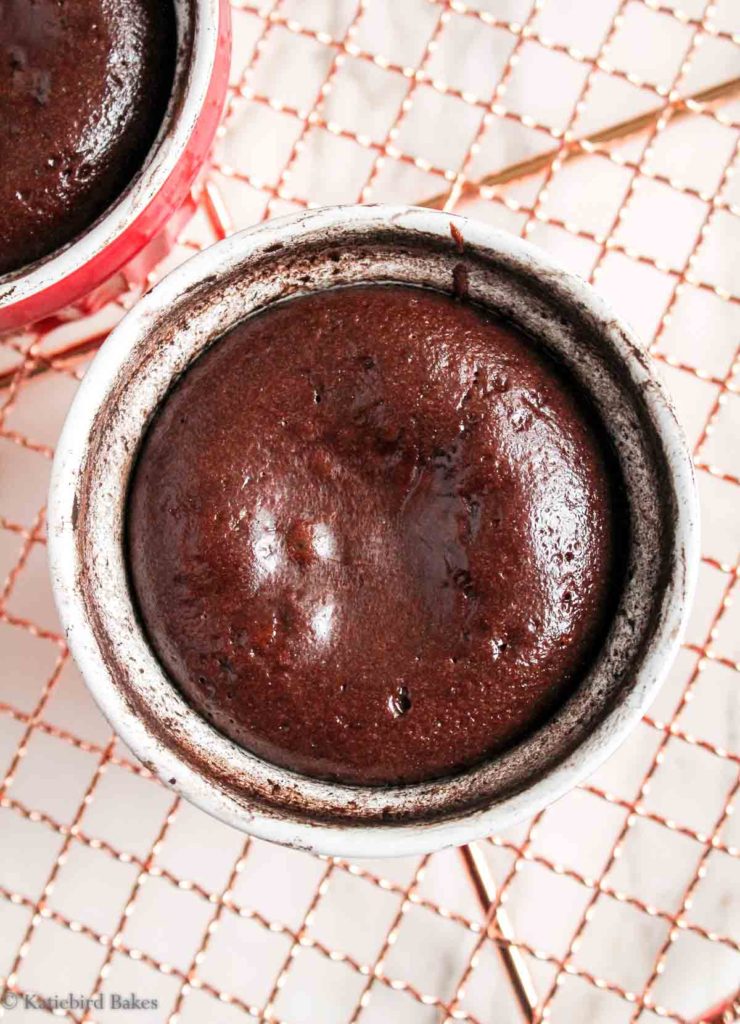
Preheat your oven to 375 degrees F. Thoroughly grease two ramekins with butter and dust them with cocoa powder. Do this by putting just a pinch of cocoa powder into the ramekin after greasing, then tap it around in a circle while turning the ramekin in your hands (watch the video to see how I do it!). Get it all over the bottom and sides, as above.
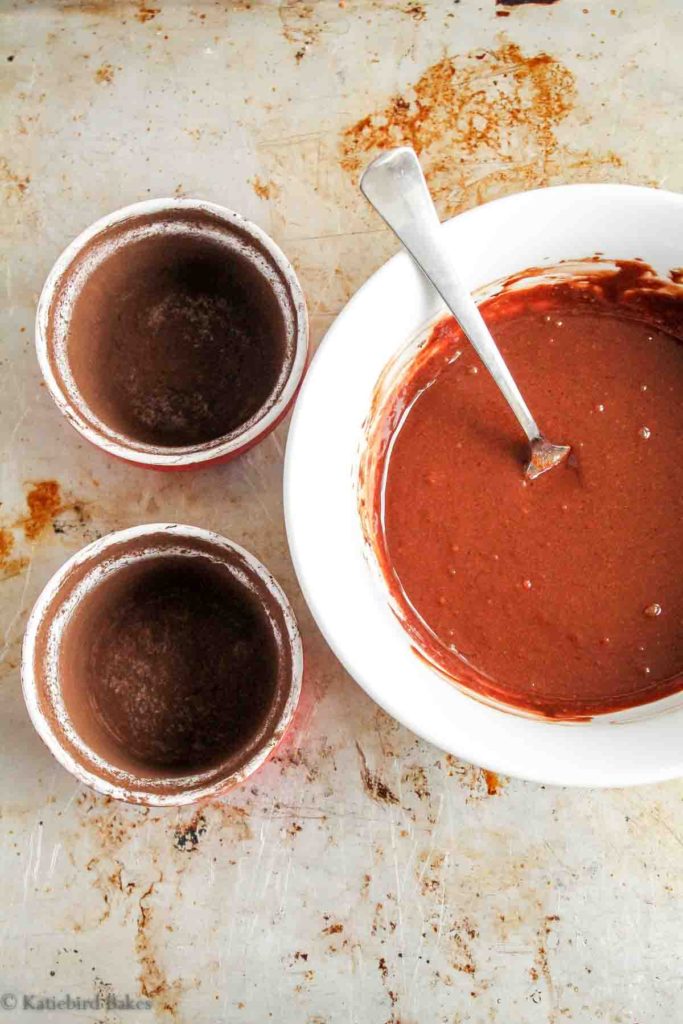
The purpose of this cocoa dusting is twofold: (1) it helps the cakes release and (2) normally flour is used for dusting, but cocoa powder blends right into the molten chocolate cakes rather than leaving unsightly white streaks!
Step Two
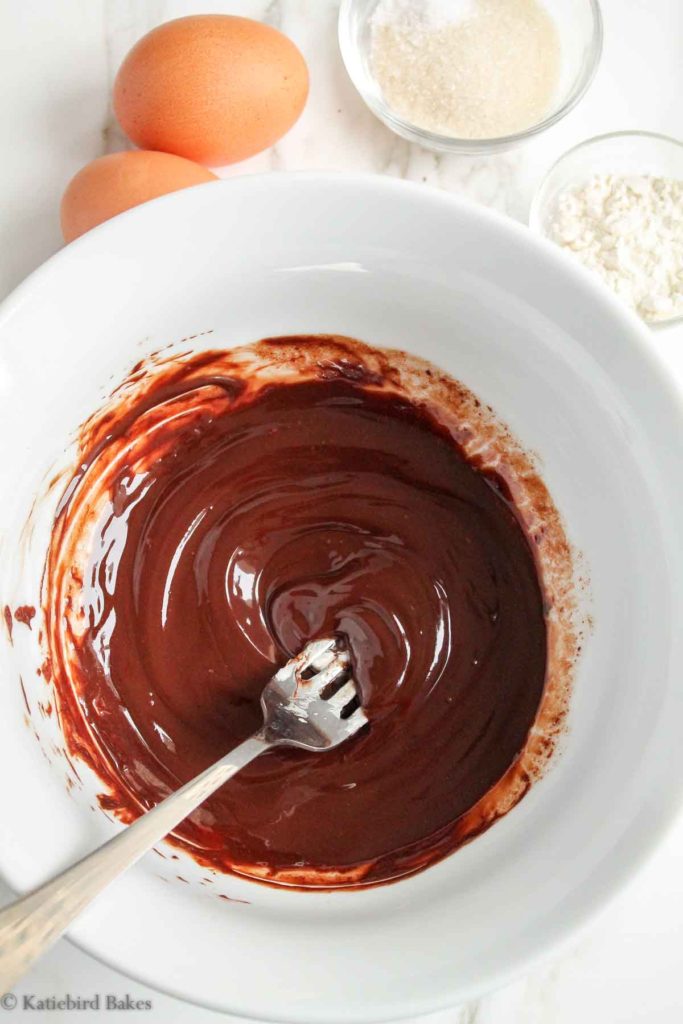
Put chopped dark chocolate and butter in a medium bowl and microwave them in 30-second intervals, stirring in between, until smooth and glossy. You could also use a double boiler! Let the melted chocolate mixture cool for a couple minutes, then whisk in your sugar and salt.
Step Three
Whisk in the eggs, vigorously, until the egg mixture thickens and becomes viscous – this takes about a minute of whisking. Then stir in the flour until just combined. We’re only using a tiny amount of flour here to provide a bit of structure. You can use gluten-free flour if you’d like.

Step Four
Divide the batter evenly between the two ramekins and place them on a baking sheet. Bake for 12-15 minutes at 375 degrees, until the cakes have risen a bit, the edges are puffed and dry, and the tops are shiny, but the center of the cake is still jiggly.
The lava cakes will have a very molten center at 12 minutes, and closer to solid with just a soft and gooey center by 15 minutes. Bake to the texture you’d prefer!
Step 5
Now, the fun part. Put the cakes on a rack, wait for 2 minutes, put a small plate over top of each ramekin, flip carefully using an oven mitt, and pull the ramekin off. Be careful – they are VERY hot!
If you’re nervous about the cake sticking, you can run a knife along the edges of the cake before you flip. But be bold – fear has no place in the kitchen. Gooey chocolate cake, here we come!
Storage
Honestly, these lava cakes are best eaten immediately. If you only want to eat one at a time, I’d recommend cutting the entire recipe in half to make just one lava cake, OR make the batter for both and store the second one, unbaked, in the fridge for up to 2 days until you’re ready to bake. Add 1-2 minutes to the bake time.
Room temperature: the baked lava cakes will keep for up to 3 hours at room temperature, although they won’t be molten anymore after about 30 minutes.
Refrigerator: baked lava cakes will keep for up to 2 days in an airtight container. Microwave for 20-30 seconds or bake in a 350 degree oven for 5-7 minutes to reheat — but again, they likely won’t be molten anymore!
Freezer: I don’t recommend this and have not tried it!
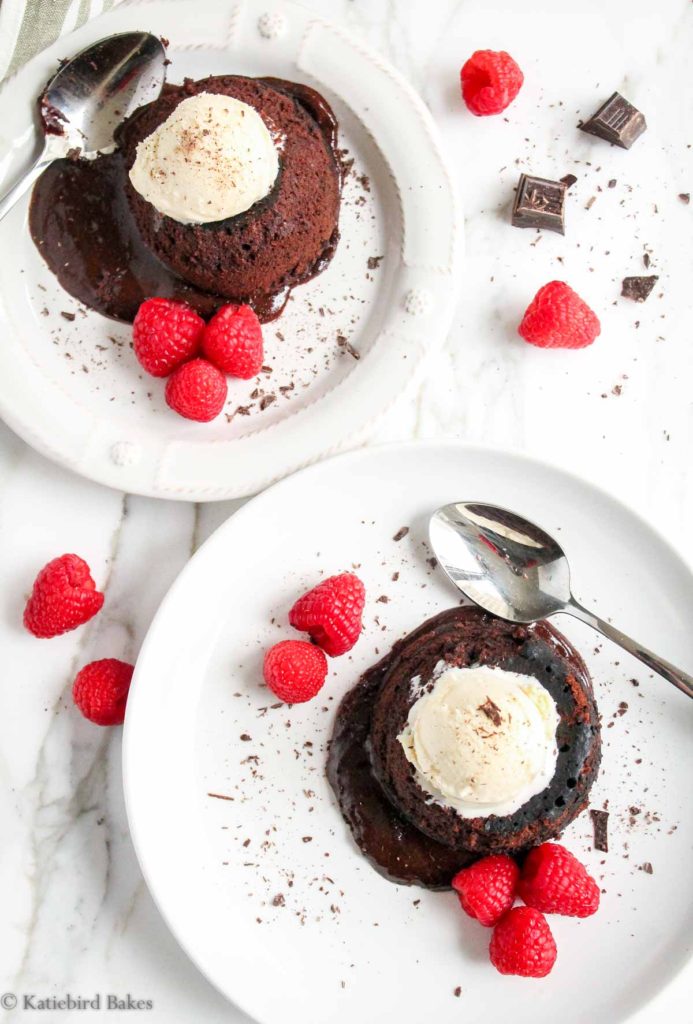
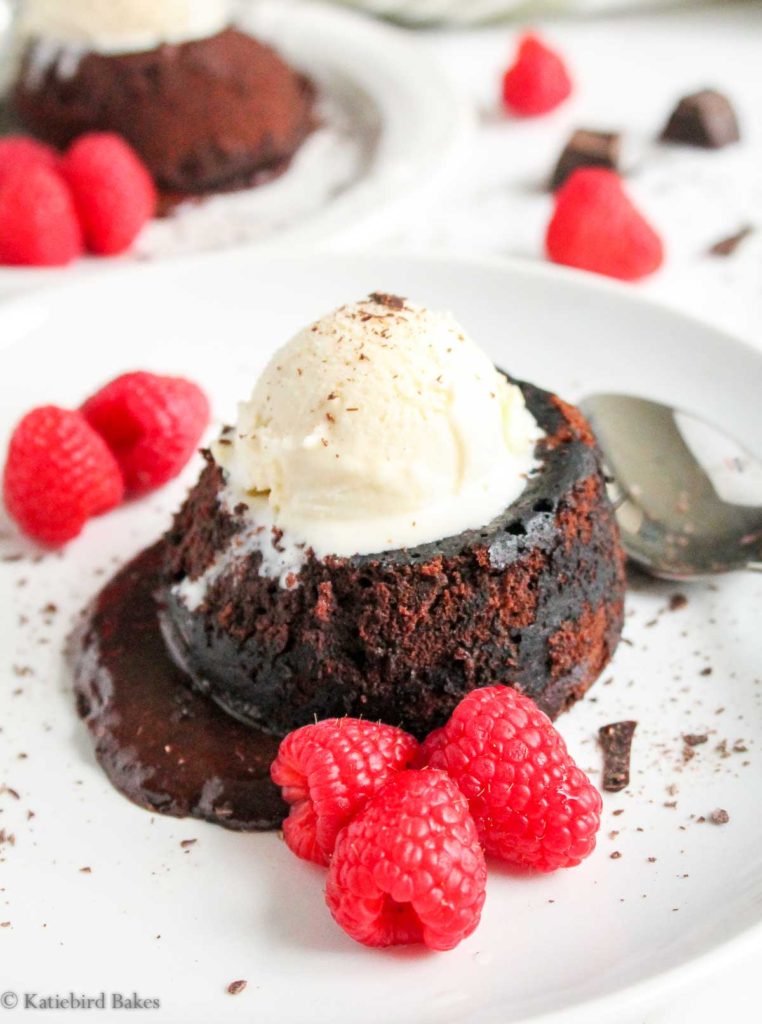
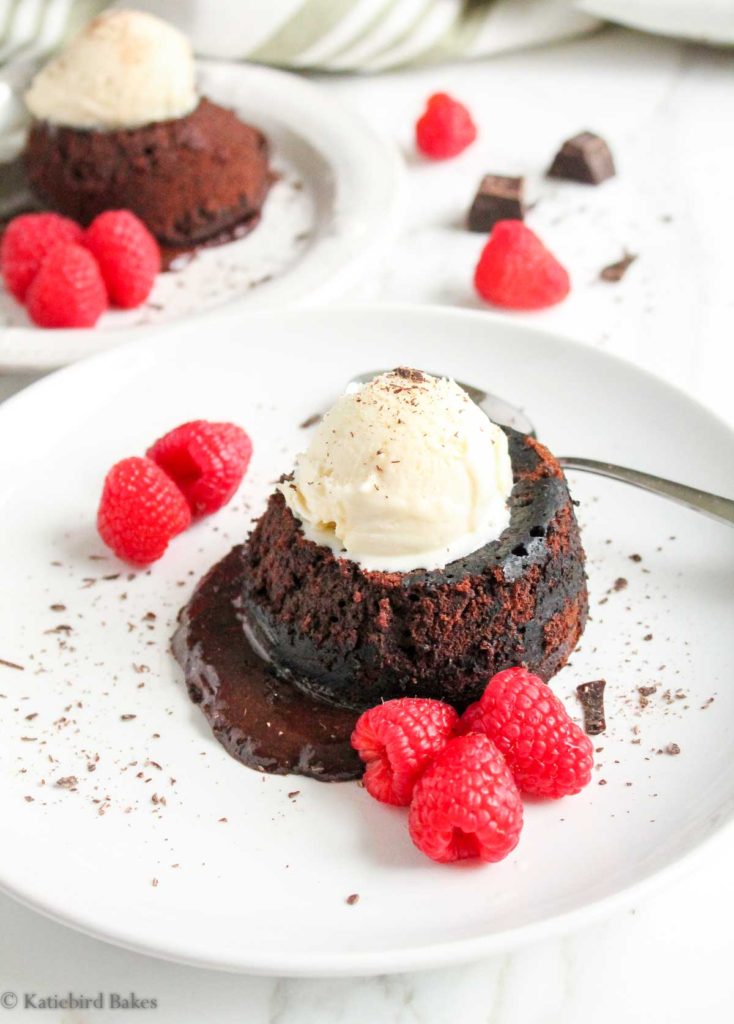
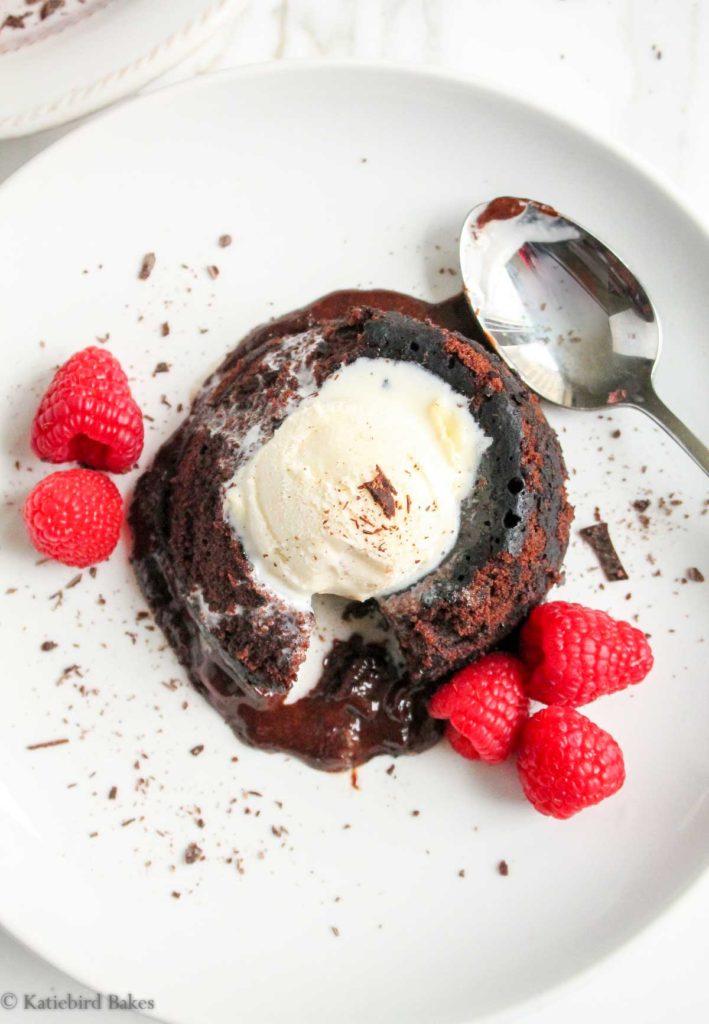
I like topping mine with a scoop of ice cream and raspberries, but whipped cream and any fresh berries would be glorious. Or just plain with some powdered sugar!
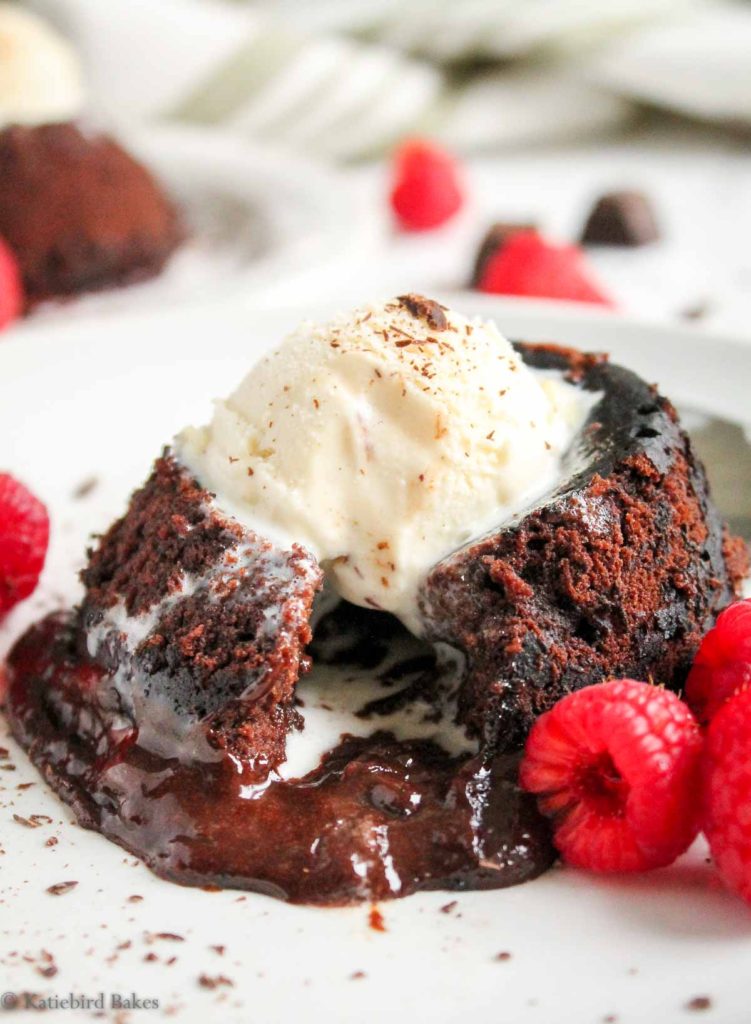
My favorite part, right here. Cut into the rich chocolate cake and watch the ice cream start to melt and mingle with the gooey chocolate center…OMG. Just…please go make it, right now. Thank me later.
Frequently asked questions
Yes, but just know that they don’t melt as well as chopped chocolate due to the wax coating on them. I highly recommend using your favorite dark chocolate bar here, as it makes a difference in the final product’s flavor! I like Trader Joe’s 72% dark chocolate.
Yes! Just use an equal amount of gluten-free all-purpose flour, or oat flour. I don’t think almond or coconut flour would work here.
Yes. It provides a bit of structure to the cakes without drying them out.
Yes – you can prepare the batter up to a day in advance and divide among the ramekins, then store in the fridge until you’re ready to bake. You’ll likely need to add an extra minute or two to the baking time; just watch carefully.
More easy recipes for chocolate lovers:
- Single Layer Chocolate Cake with Chocolate Ganache
- Peanut Butter Swirl Brownies
- Double Chocolate Banana Bread
- My Favorite Homemade Fudgy Brownies
Recipe
Molten Chocolate Cakes for Two
Ingredients
- 2 Tablespoons (28g) unsalted butter
- ½ cup (85g) chopped dark chocolate* (or chocolate chips)
- 4 teaspoons (17g) granulated sugar
- ¼ tsp salt
- 2 large eggs
- 2 teaspoons (5g) all-purpose flour (or GF all-purpose flour)
- Vanilla ice cream and raspberries, for topping
Instructions
- Preheat oven to 375 degrees F. Butter two 1-cup ramekins generously, and dust evenly with cocoa powder in the bottom and around the inner sides of the ramekins. Set aside.
- Place butter and chocolate in a microwave-safe bowl, and microwave in 30-second intervals, stirring in between, until melted and glossy. Let cool for 2 minutes.
- Whisk in sugar and salt, then eggs. Whisk the eggs vigorously until the mixture thickens, about one minute. Gently stir in the flour until just combined.
- Divide batter evenly among the two ramekins and place ramekins on a baking sheet. Bake for 12-15 minutes, until cakes are slightly risen, the edges look puffed and dry, the top is shiny and the middles still look a bit jiggly. At 12 minutes, the cakes will be quite molten in the center; by 15, the cakes will be mostly solid with just a gooey center. Bake to your preference.
- Allow the cakes to cool in the ramekins for two minutes, then carefully invert onto plates using a towel or oven mitt. If you're nervous about the cakes sticking, just run a knife along the inside edges of the ramekins to separate before flipping.
- Top with ice cream and raspberries and enjoy immediately!
Video
Notes
Tried this recipe?
Please consider leaving a rating and review!Like this recipe for molten chocolate lava cakes for two? Please RATE IT and LEAVE A COMMENT!
Tag me on Instagram @katiebirdbakes so I can celebrate your baking achievements, and sign up for my email list to receive my recipes straight to your inbox every time I post!
I made these last night for Valentine’s Day. They came out amazing! So fast and easy to make with ingredients I always have on hand! A chocolate lovers dream recipe!
thank you so much Juli!! I’m so glad it was a part of your v day 🙂
These are on repeat in our house and especially today for Valentine’s Day! Soooo good, the best!
yay!! I’m honored to be part of your valentine’s day! thank you 🙂
Making these tonight for date night dinner. Is the flour measurement correct at only 2tsp??
Yes – that’s right! It’s just to add a bit of structure. I hope you love these!
Hi Katie
Can I make them in silicone ramekins ?
Hi Kareina – yes that would work just fine! Make sure to put them on a baking sheet though!