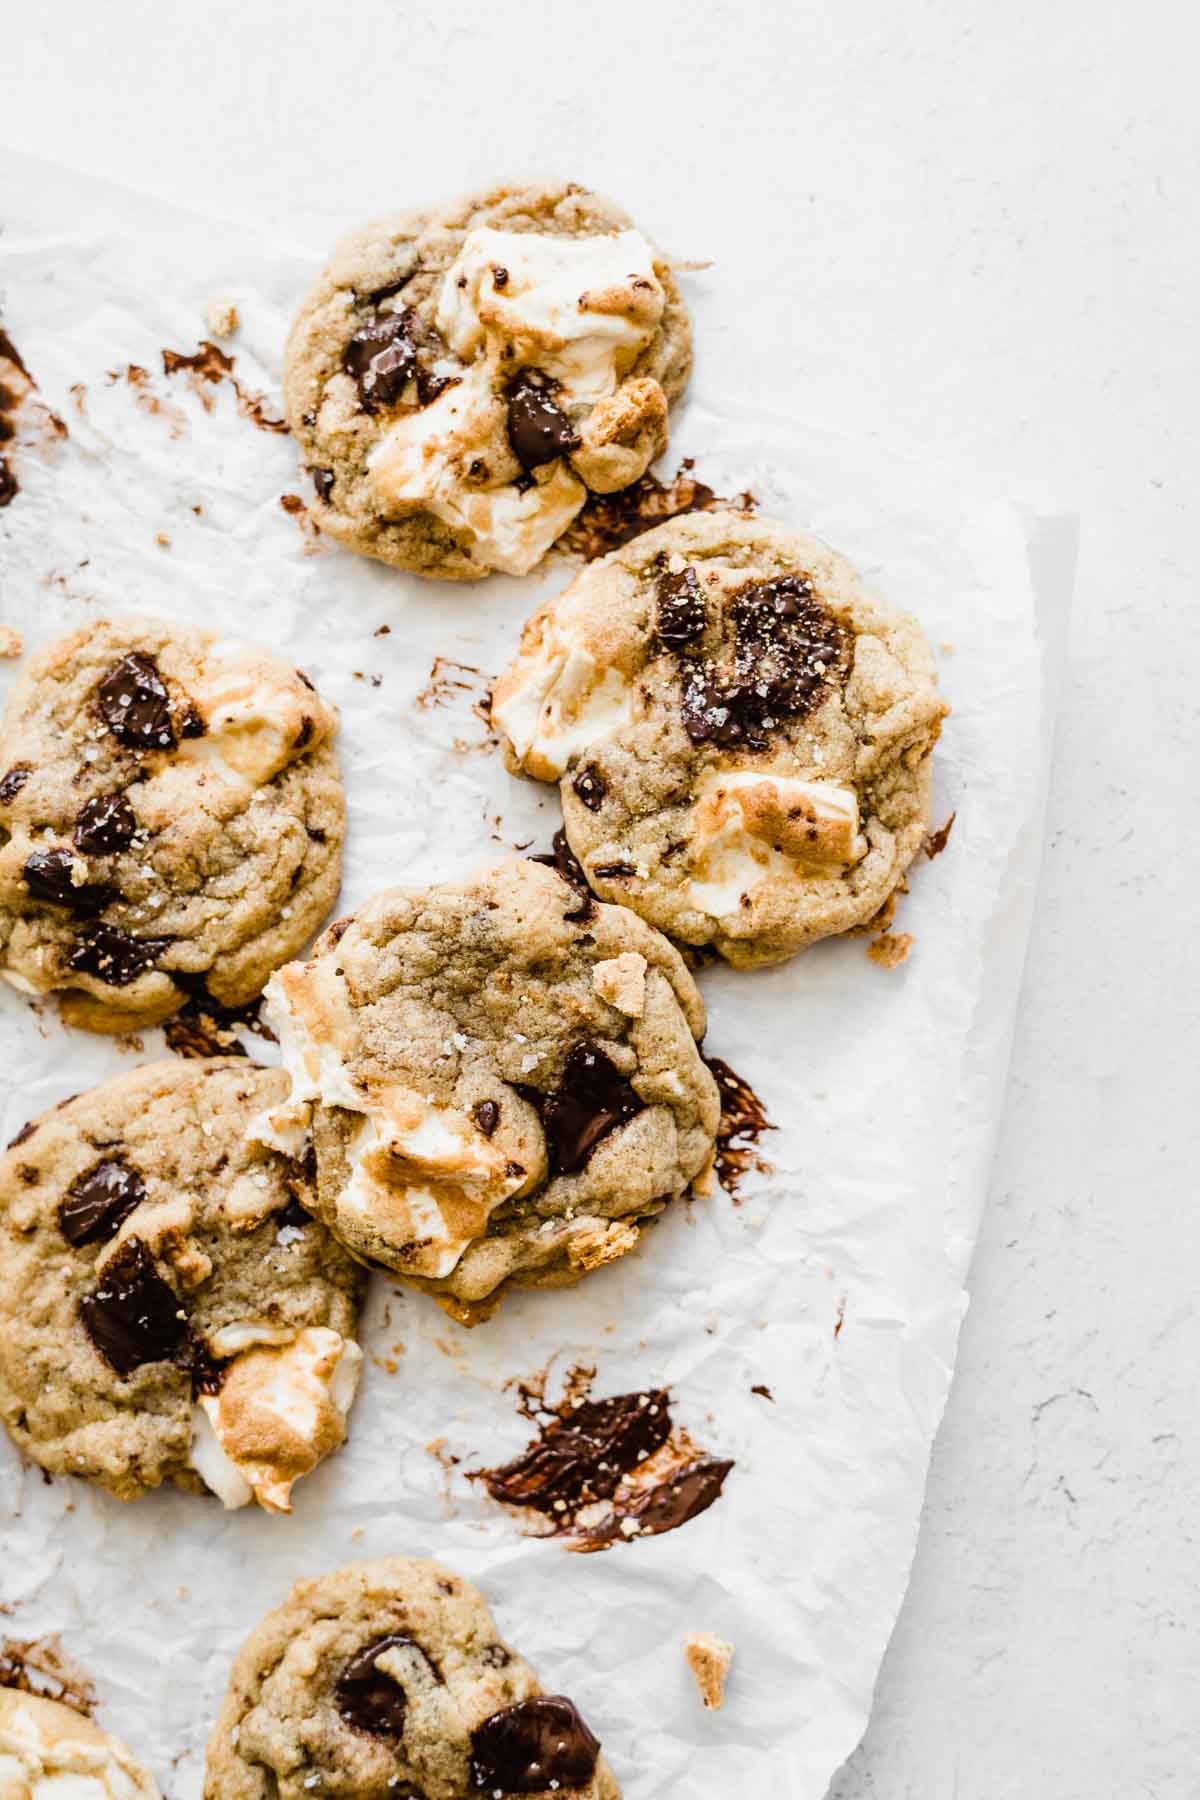
These s’mores cookies combine crushed graham crackers, marshmallows, and chopped chocolate in an easy, no-chill cookie dough. They’re quick and easy, ready in 30 minutes with no mixer required, and they’re perfectly chewy and soft.

There comes a time in every s’mores maker’s life when, desperately looking for a napkin or paper towel, one wonders: is this gooey, sticky, melty mess I’m eating actually worth all the trouble?
Answer: maybe, and it depends mostly on how you feel about marshmallows. But the good news is, you can spare yourself the sticky fingers and make these s’mores cookies instead! I promise, these ARE worth it.

We were recently in northern Michigan on a long weekend getaway, and met our friends at their lake house for dinner. We got to sit by the lake with them, light a fire (with some struggle), and have some proper campfire s’mores under the unbelievably starry sky. It was peak summer and pretty magical, especially after months cooped up in the city.
Being neither the owner of a lake house nor a fire pit myself (unfortunately), I’ve had to come up with some creative ways to scratch the s’mores itch in our tiny apartment over the years.
The best indoor s’mores method I’ve come up with is the broiler: arrange your bottom graham crackers in a line on a cookie sheet, add a marshmallow to each, broil (watching VERY carefully) until browned to your liking, remove from oven, add chocolate or other toppings of choice and top graham cracker. You may miss the campfire taste but it works!

You know what’s way better though, if you’re like me and lack the ability to make a fire, or if it’s the dead of winter and you want something comforting to remind you of long-gone summer days?
Skipping the mess altogether, and making these s’mores cookies in your fuzzy PJs instead.
Let’s do it.
Elements of S’mores Cookies:
The Marshmallows: You can use regular-size marshmallows chopped into quarters for these s’mores cookies, or for less work you can use mini marshmallows. The recipe makes about 22-24 cookies (depending on how large you scoop them) so adjust your marshmallow amount accordingly. I like to have at least 2 small marshmallows per cookie.
The Graham Crackers: Use 2-3 standard sheets of graham crackers here. You could use cinnamon or honey flavored ones – I used the classic variety. Crushing the graham crackers is easy if you just put them into a sealed bag and use your fist or a rolling pin or mallet to break them up. This happens to be a fun way to get out any frustrations you might be having, but if you want you can use a knife and chop as well. I like crushing them so there are different-sized pieces incorporated throughout the cookie.
The Chocolate: Arguably the most important…maybe just because it is my favorite part. Classic s’mores use milk chocolate, but I used chopped 70% dark chocolate in these s’mores cookies, which I think adds a great depth of flavor. You could also use a mix of milk and dark chocolate, or even white chocolate or those caramel-filled chocolate squares. Endless possibilities depending on your preferences (and pantry).
Let’s talk about what makes this recipe so great:

- The cookie dough comes from my recipe for the easiest chocolate chip cookies, and it is epic. One of the most popular recipes on my site for a reason!
- There is NO mixer needed, and we use melted butter and stir it all together in ONE bowl. No chill time required either! Score.
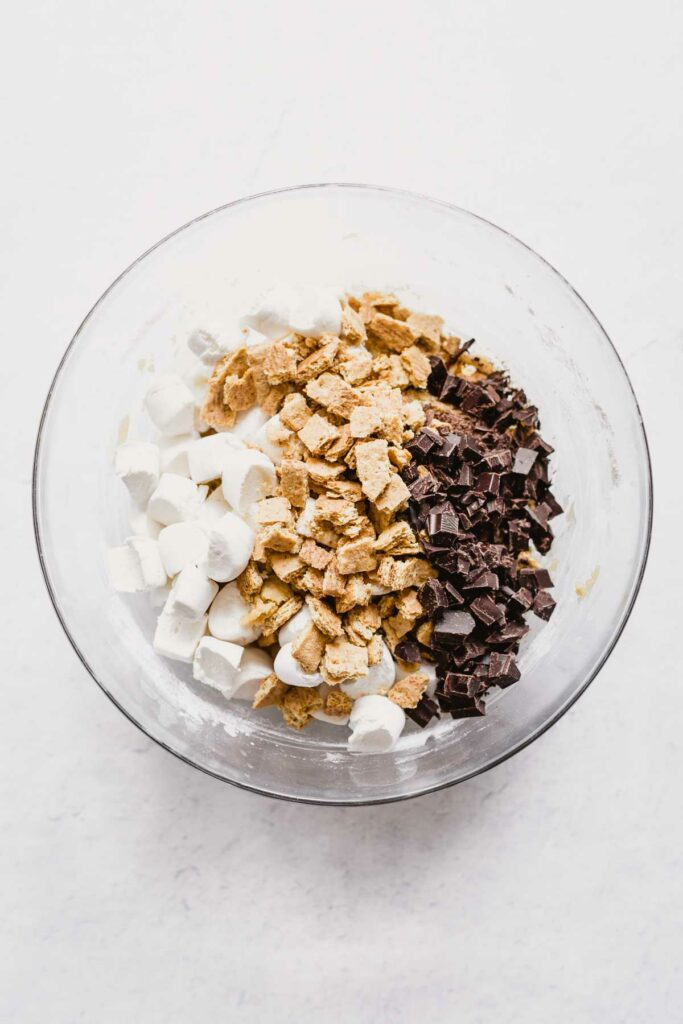
- All you have to do is stir together the chocolate chip cookie dough (minus the chocolate chips), then stir in the s’mores elements of chocolate, graham cracker, and marshmallows. Chop these up ahead of time and stir gently and patiently until evenly incorporated into the dough, as they tend to clump up a bit.
- You get all the flavors of a s’more–chocolate, marshmallow, graham cracker–but the options for customization are endless. I used chopped dark chocolate and regular-sized marshmallows that I cut into quarters, but you could use any kind of chocolate you like and mini marshmallows if you prefer!
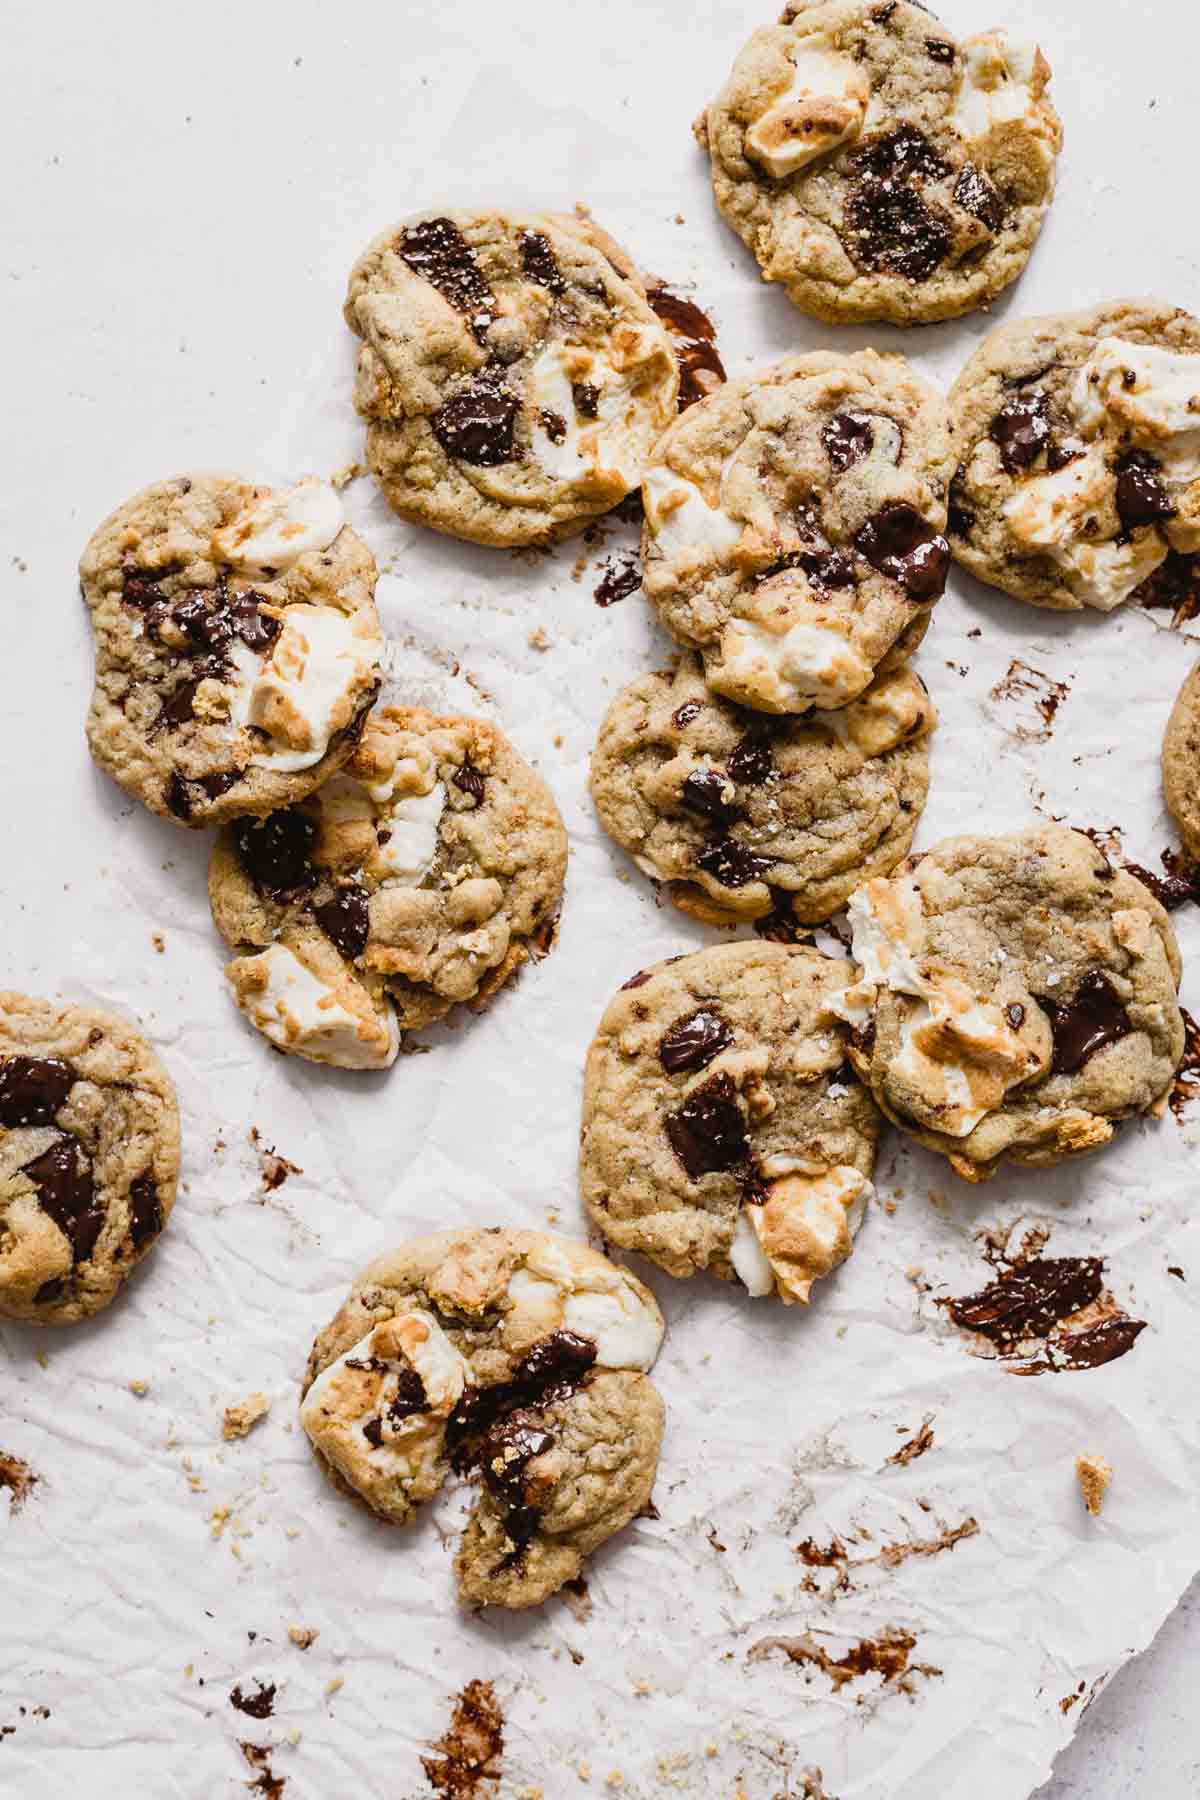
- You can have gooey s’mores cookies ANY time of year, ready in about half an hour. No need to restrict these to the summer months!
Tips for success:
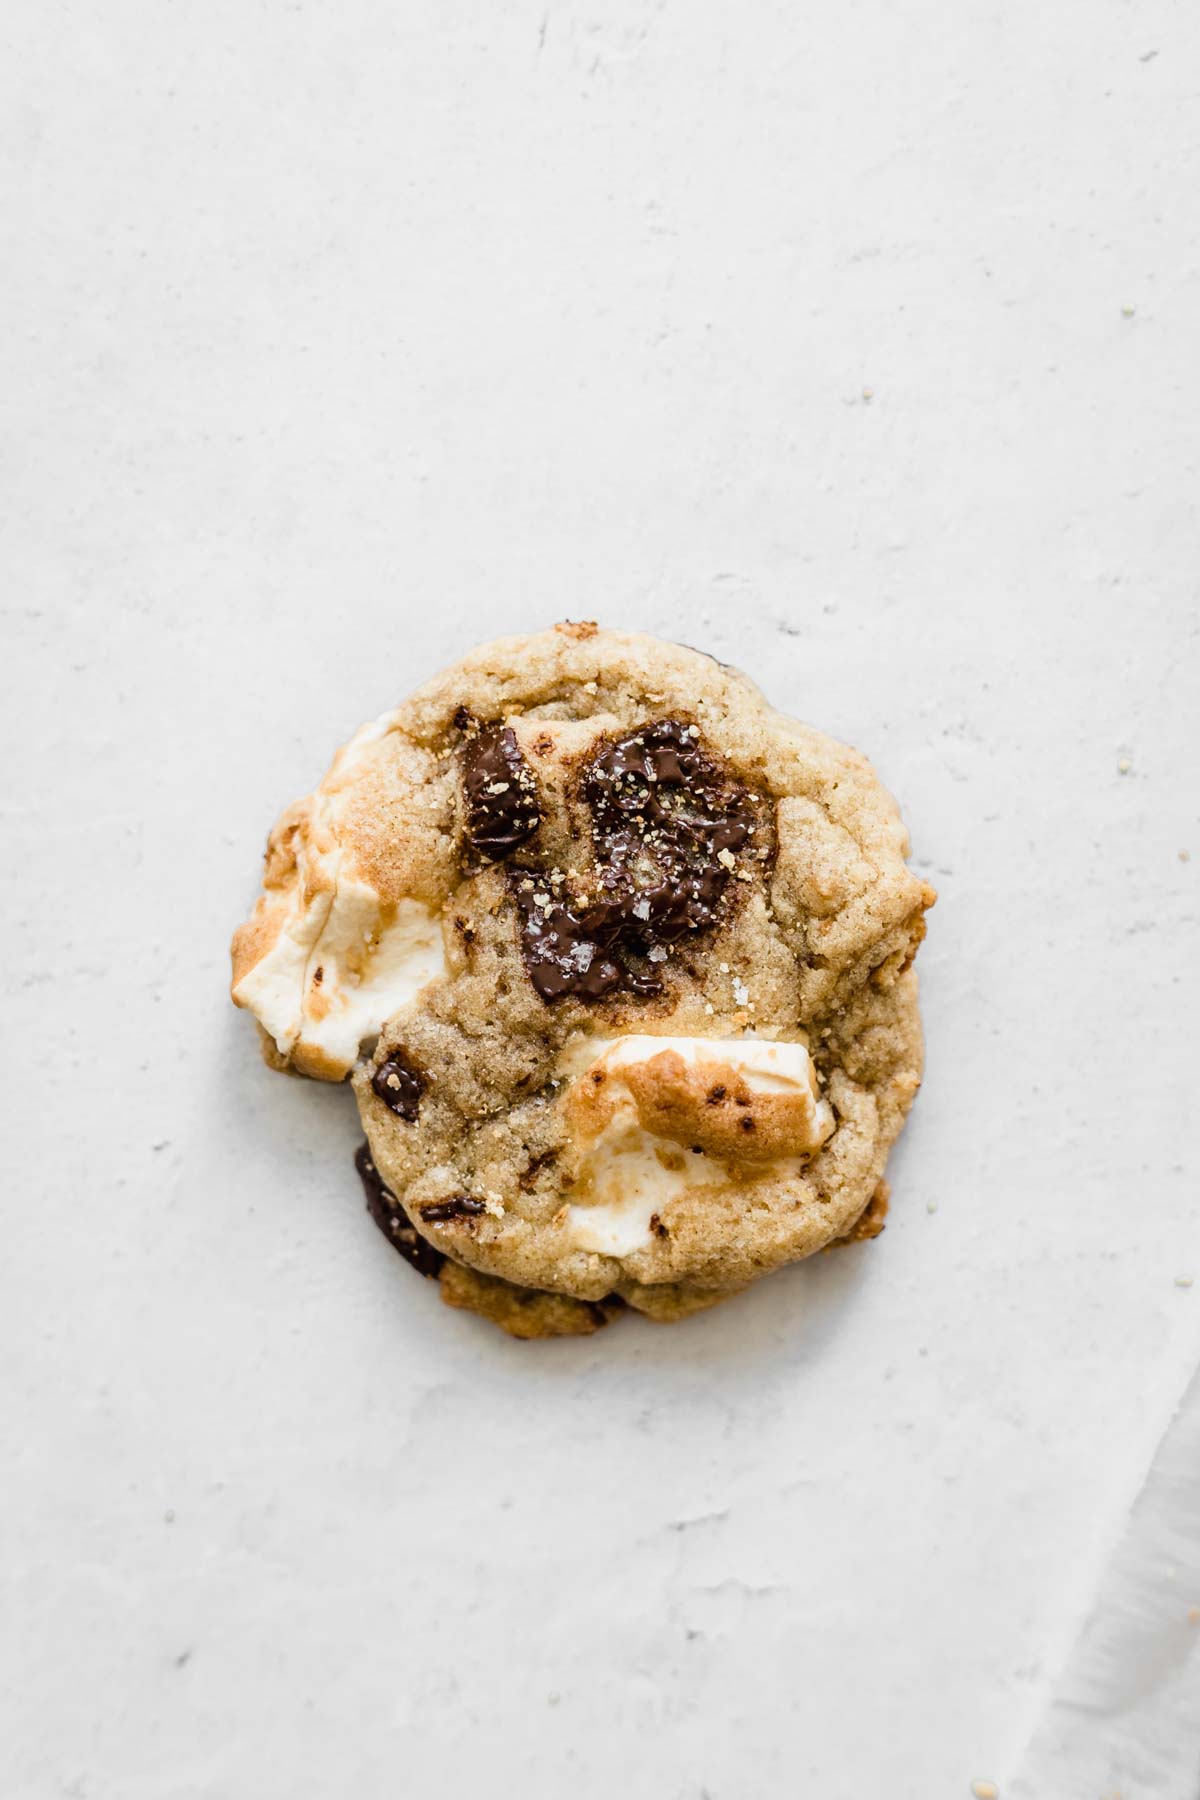
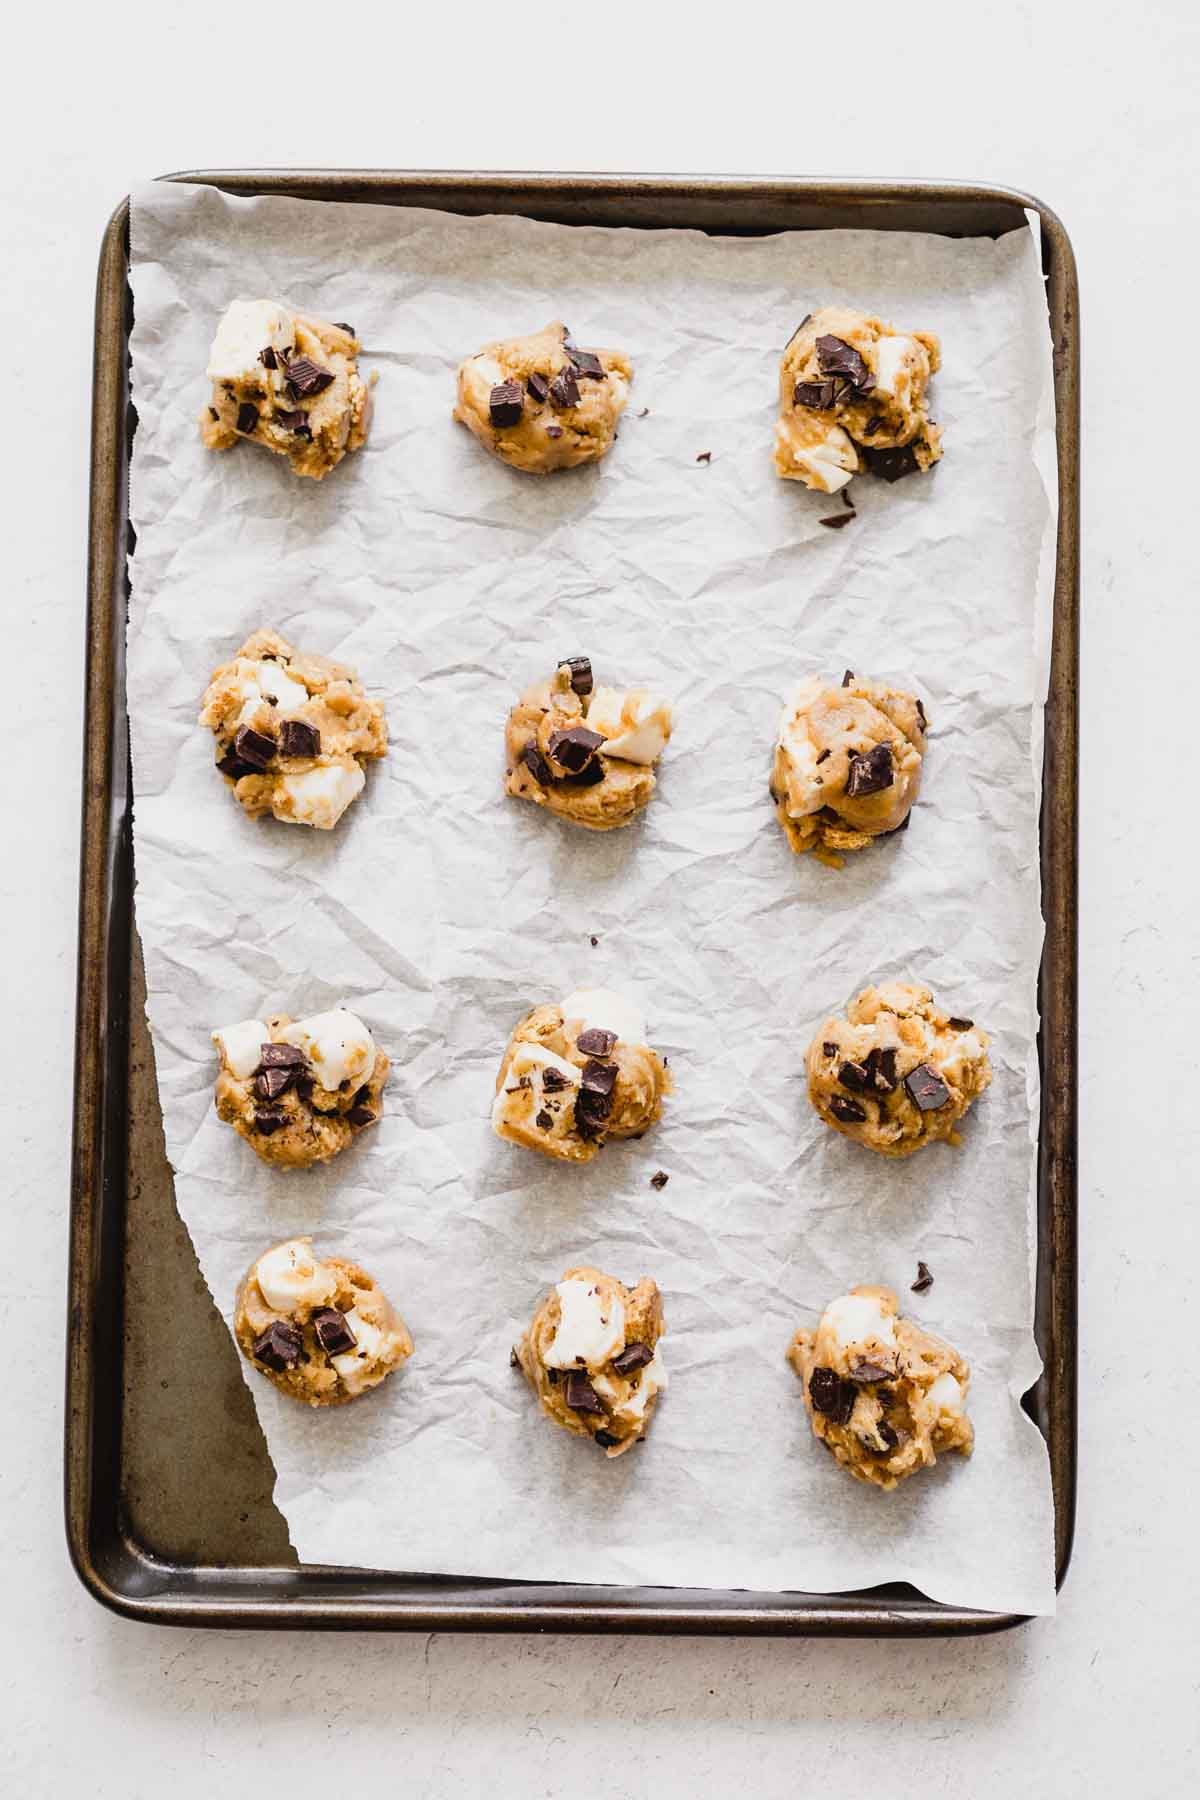
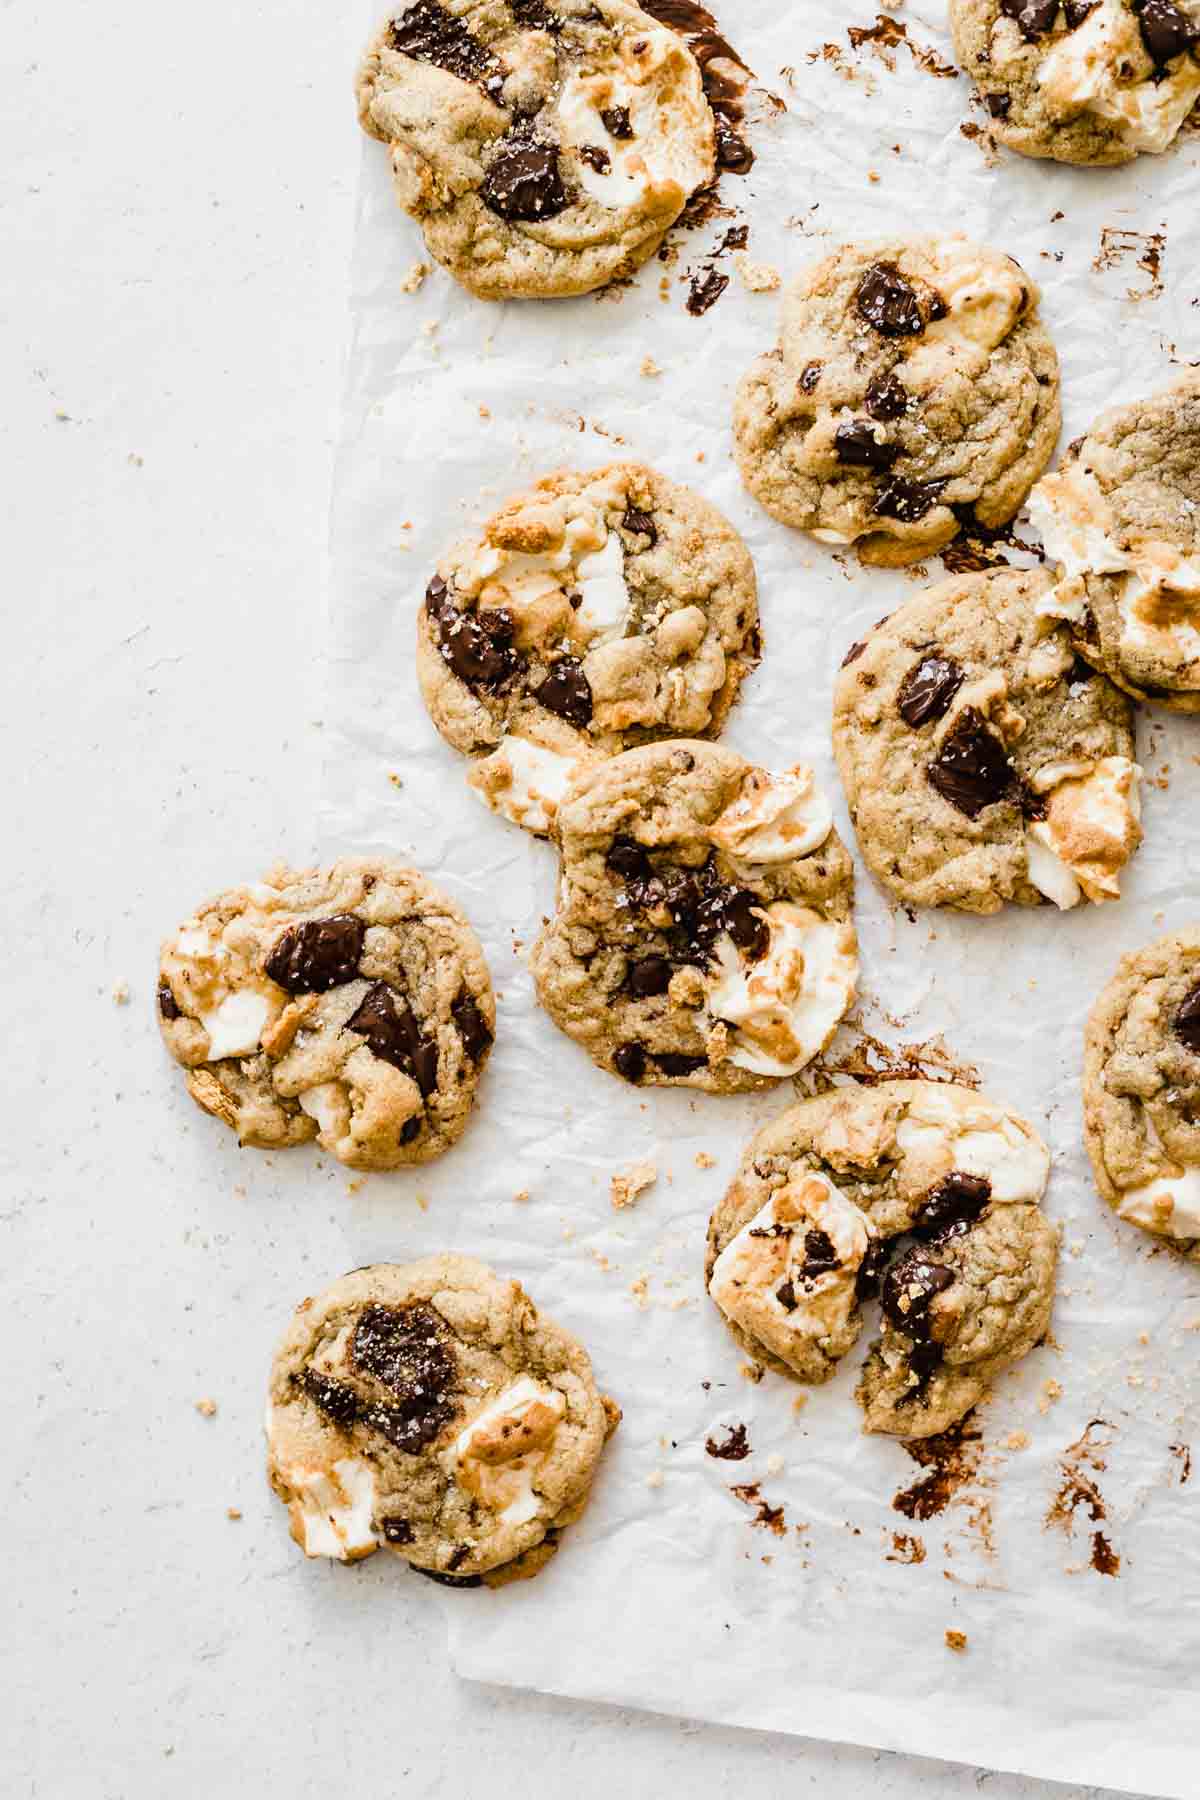
TIP #1: For pools of melty chocolate in the baked s’mores cookies like my photos, add extra bits of chopped chocolate to the top of each cookie dough ball before baking. As the cookie melts and spreads in the oven, the chocolate stays on top and becomes its own beautiful melty pool rather than sinking into the cookie.
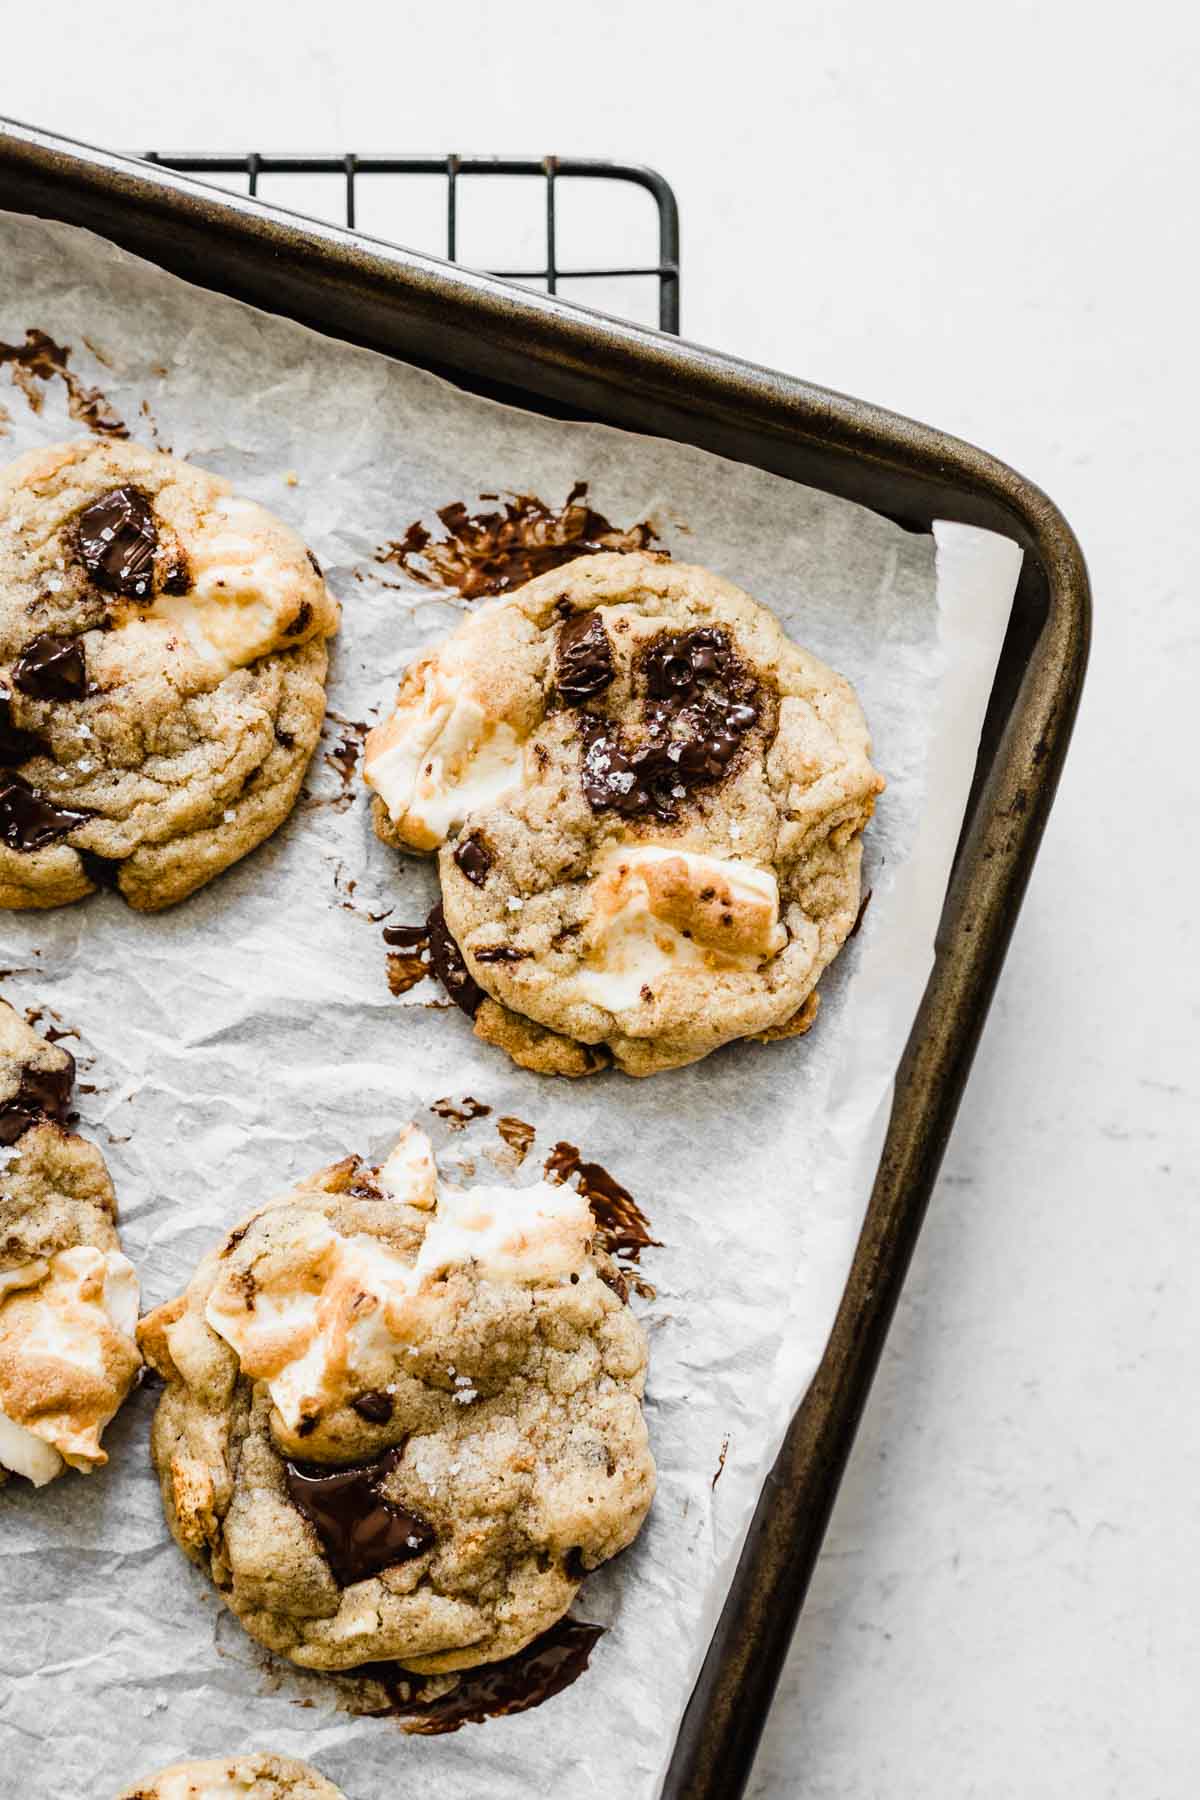
TIP #2: Add a little flaky or coarse sea salt to the tops of the cookies once baked. Just a sprinkle! They’ll melt into the chocolate and sit on top of the marshmallows for just that little bit of contrast to the sweetness. It’s SO good.
TIP #3: If your cookies come out of the oven looking a little misshapen and wonky because of the marshmallows, just use a biscuit cutter or a spoon to push the edges of the hot cookie back into a circular shape. Do this as soon as the cookies come out of the oven, or else they won’t be as malleable. Wonky cookies will still taste delicious though 😉
I hope you bake these s’mores cookies and enjoy them any time of year to remind us of those amazing summer days, minus the smoke and sticky fingers!

S’mores Cookies
Ingredients
- ½ cup unsalted butter (113g)
- ½ cup brown sugar packed (100g)
- ¼ cup granulated sugar (50g)
- 1 large egg cold or room temperature, both are fine
- 1 teaspoon vanilla extract
- ½ teaspoon baking soda
- ½ teaspoon salt
- 1 ½ cups all-purpose flour (188g) – see notes below on how to measure flour correctly without a scale
- ¼ cup chopped chocolate (43g) more if desired
- 2 or 3 sheets graham crackers crushed (32-47g)
- 10 marshmallows, quartered (118g) can also use 40 mini marshmallows
- Coarse or flaky sea salt for sprinkling (optional)
Instructions
- Preheat your oven to 350 degrees F. Line two cookie sheets with parchment paper.
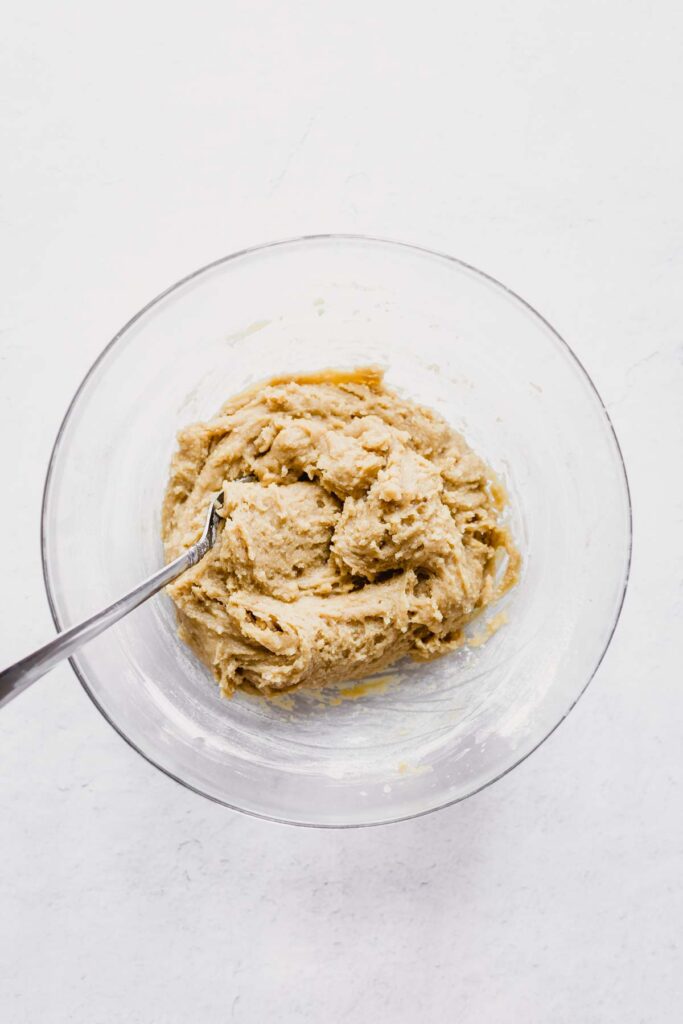
- In a large microwave-safe bowl (or a small saucepan on the stove), heat the butter until just melted. Whisk in the two sugars until thoroughly combined (I like to use a fork as my whisk). Let the mixture cool for a minute, then whisk in the egg and vanilla extract until smooth.
- Sprinkle the baking soda and salt over top of the mixture and stir in, then add the flour and stir it in with a fork or spatula until fully combined and a smooth dough is formed.
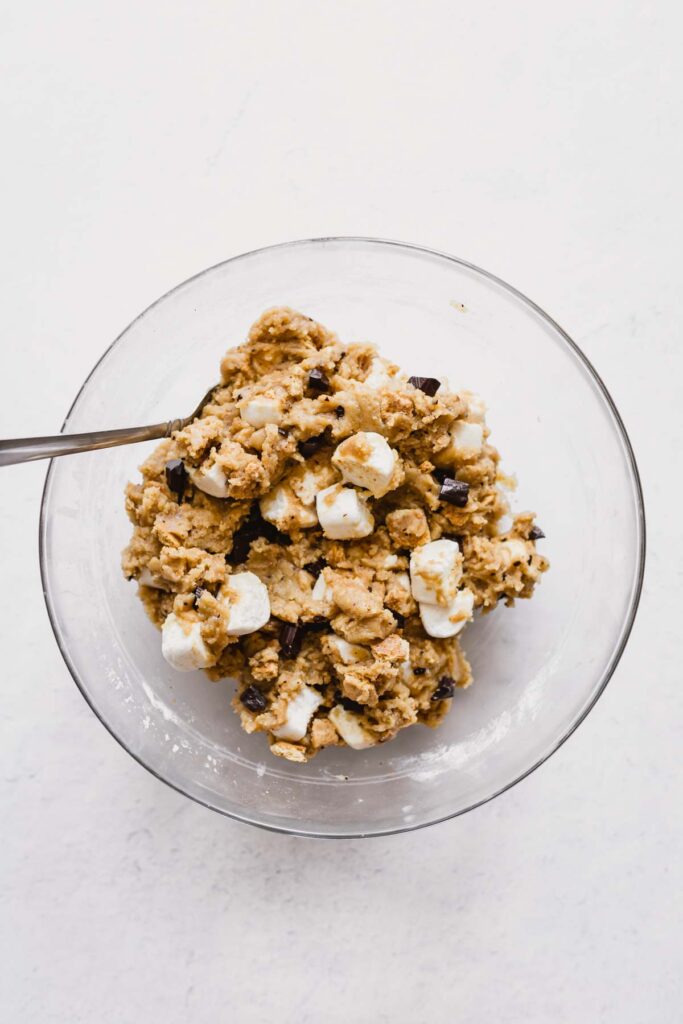
- Add the chopped chocolate, crushed graham crackers, and marshmallows and stir gently and patiently until evenly incorporated into the dough. The marshmallows may stick together; use your fork or spatula to break them up and distribute evenly. You should have about 2 marshmallows per cookie.
- Drop the dough by rounded tablespoons (if you have it, a #40 tablespoon cookie scoop is perfect for this) onto cookie sheets, about 2 inches apart. The dough should make approximately 20-22 cookies worth.
- To get the look in my photos, place additional chopped chocolate on top of each cookie dough ball. These will melt into puddles on top of the cookie when baked.
- Bake for 10 minutes. NOTE: the cookies will look underdone, but they’ll firm up as they sit.
- If desired, sprinkle additional flaky or coarse sea salt over top of the cookies.
- Let cookies cool on sheet for at least 5 minutes, then cool completely on a rack. Store, tightly covered, at room temperature for up to 5 days.
Video
Notes
Tried this recipe?
Please consider leaving a rating and review!Like this recipe? Please rate it and leave a review and tag me in your photos on Instagram @katiebirdbakes, and sign up for my email list to receive my recipes straight to your inbox every time I post!
It worked so well, and was much more chewy than expected, which was exactly what I was looking for!
These cookies turned out so delicious!! Thank you for the recipe.
yay! thank you!
Hey as a baker, just curious as to why you add your leavening agent to the egg instead flour mixture.
Cheers and happy baking
D.
Hi Diane – I do this so the recipe can be made in one bowl, without needing a separate bowl to whisk the flour, salt, and baking soda as most recipes require. Incorporating the salt and baking soda into the wet ingredients ensures they are evenly distributed before the flour is added. Hope you enjoy the recipe!