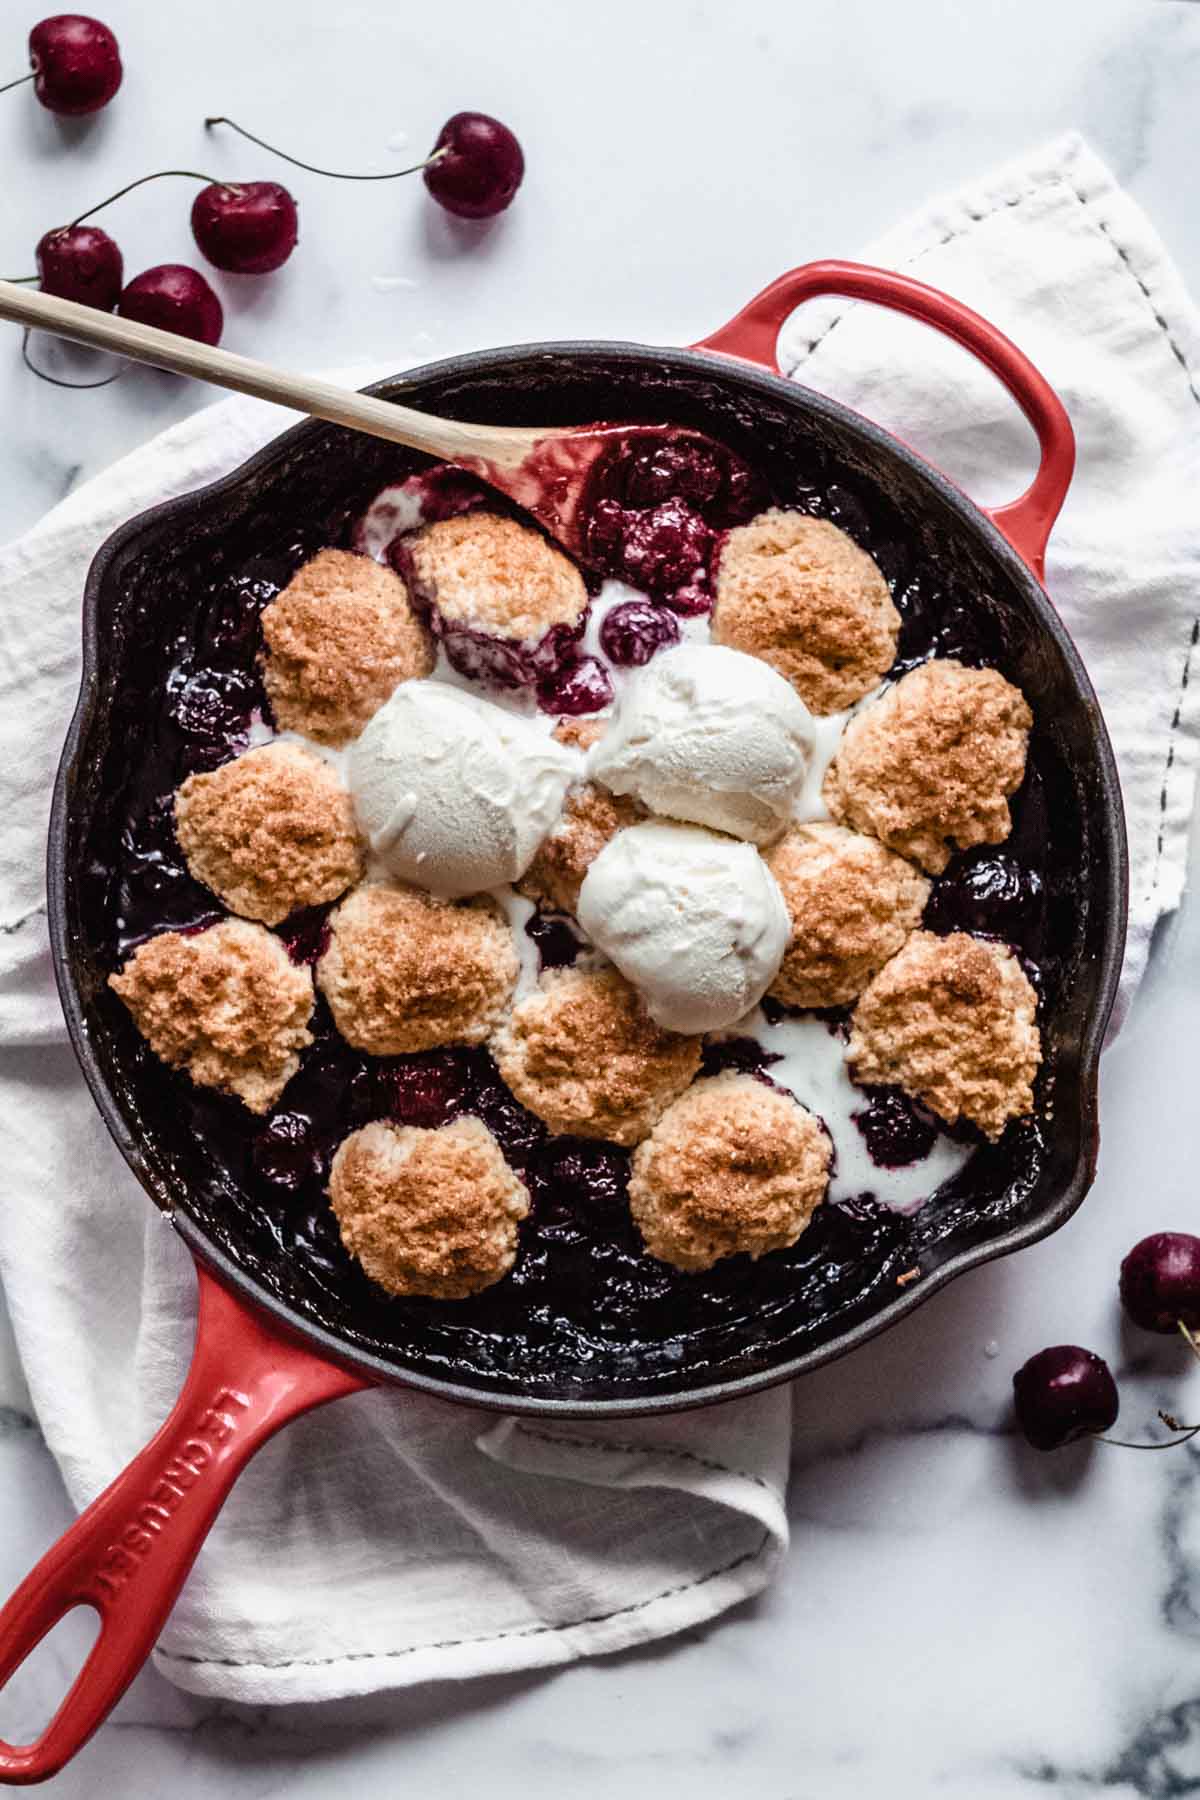
This cherry cobbler features buttery, crisp biscuits atop a fresh sweet cherry filling for a simple and classic summer dessert. Cook the cherries first in the skillet, then add the biscuits and bake! All there’s left to do is top with ice cream and dig in.
We’re talking about a classic summer dessert today: cherry cobbler! That’s right, stock up on cherries the next time you’re at the store because this recipe is worth it.
If I had to choose a favorite fruit, cherries and peaches would be fighting over the top spot. To be honest, it’s often hard for me to save enough fresh cherries to use in desserts because I can take down an entire bag on my own! They’re just too good and the season is too short for me not to eat every one in sight. Plus, antioxidants and such.
But when I do happen to have an abundance of cherries, and I haven’t already made them into bourbon vanilla roasted cherry ice cream, I love to bake a cherry crisp or cherry cobbler. Sweet cherries shine with just a bit of sugar and lemon juice, and a warm topping with some cold ice cream? Life just doesn’t get better than that.
I remember making my first cherry cobbler when my dad came to visit me in law school one time. I wanted to make him a nice dinner since he was coming to help me drive my car several hundred miles home (aren’t dads the best?). So I got some wine, baked some salmon and veggies, and started pitting cherries with a knife for the cobbler filling.
…an hour later, I was still pitting them and my hands and counter were completely stained with cherry juice. The end result wound up being worth it – my dad loved it! But I quickly discovered there was a reason why cherry pitters exist. Take it from me, this little gadget will make your life way easier.
Maybe one of these days I’ll get around to baking a cherry pie. Or a cherry galette – or a cherry almond galette! The wheels are turning. But until then, I’m keeping things quick and simple with this cherry cobbler, because it’s summer and we don’t want to spend too much time in the kitchen.
So let’s get this going.
Cherry Cobbler Filling
The cornerstone of this recipe is fresh sweet cherries. You can use frozen cherries, if fresh cherries are not available – it will be about 6 cups of frozen pitted cherries. But fresh summer cherries have the best and brightest flavor for this cherry cobbler. You could use a mix of sweet and Rainier cherries if you prefer.
As I mentioned, I highly recommend investing in a cherry pitter. This little thing will save you lots of time and frustration when you’re pitting two pounds worth of cherries! But you can also use a paring knife and pit the cherries by hand if, unlike me, you are very patient.
The other filling ingredients are the usual culprits: sugar (not too much, just 1/3 of a cup to accentuate the cherries), cornstarch to thicken, and lemon juice, a bit of vanilla, almond extract and salt to bring out the flavor.
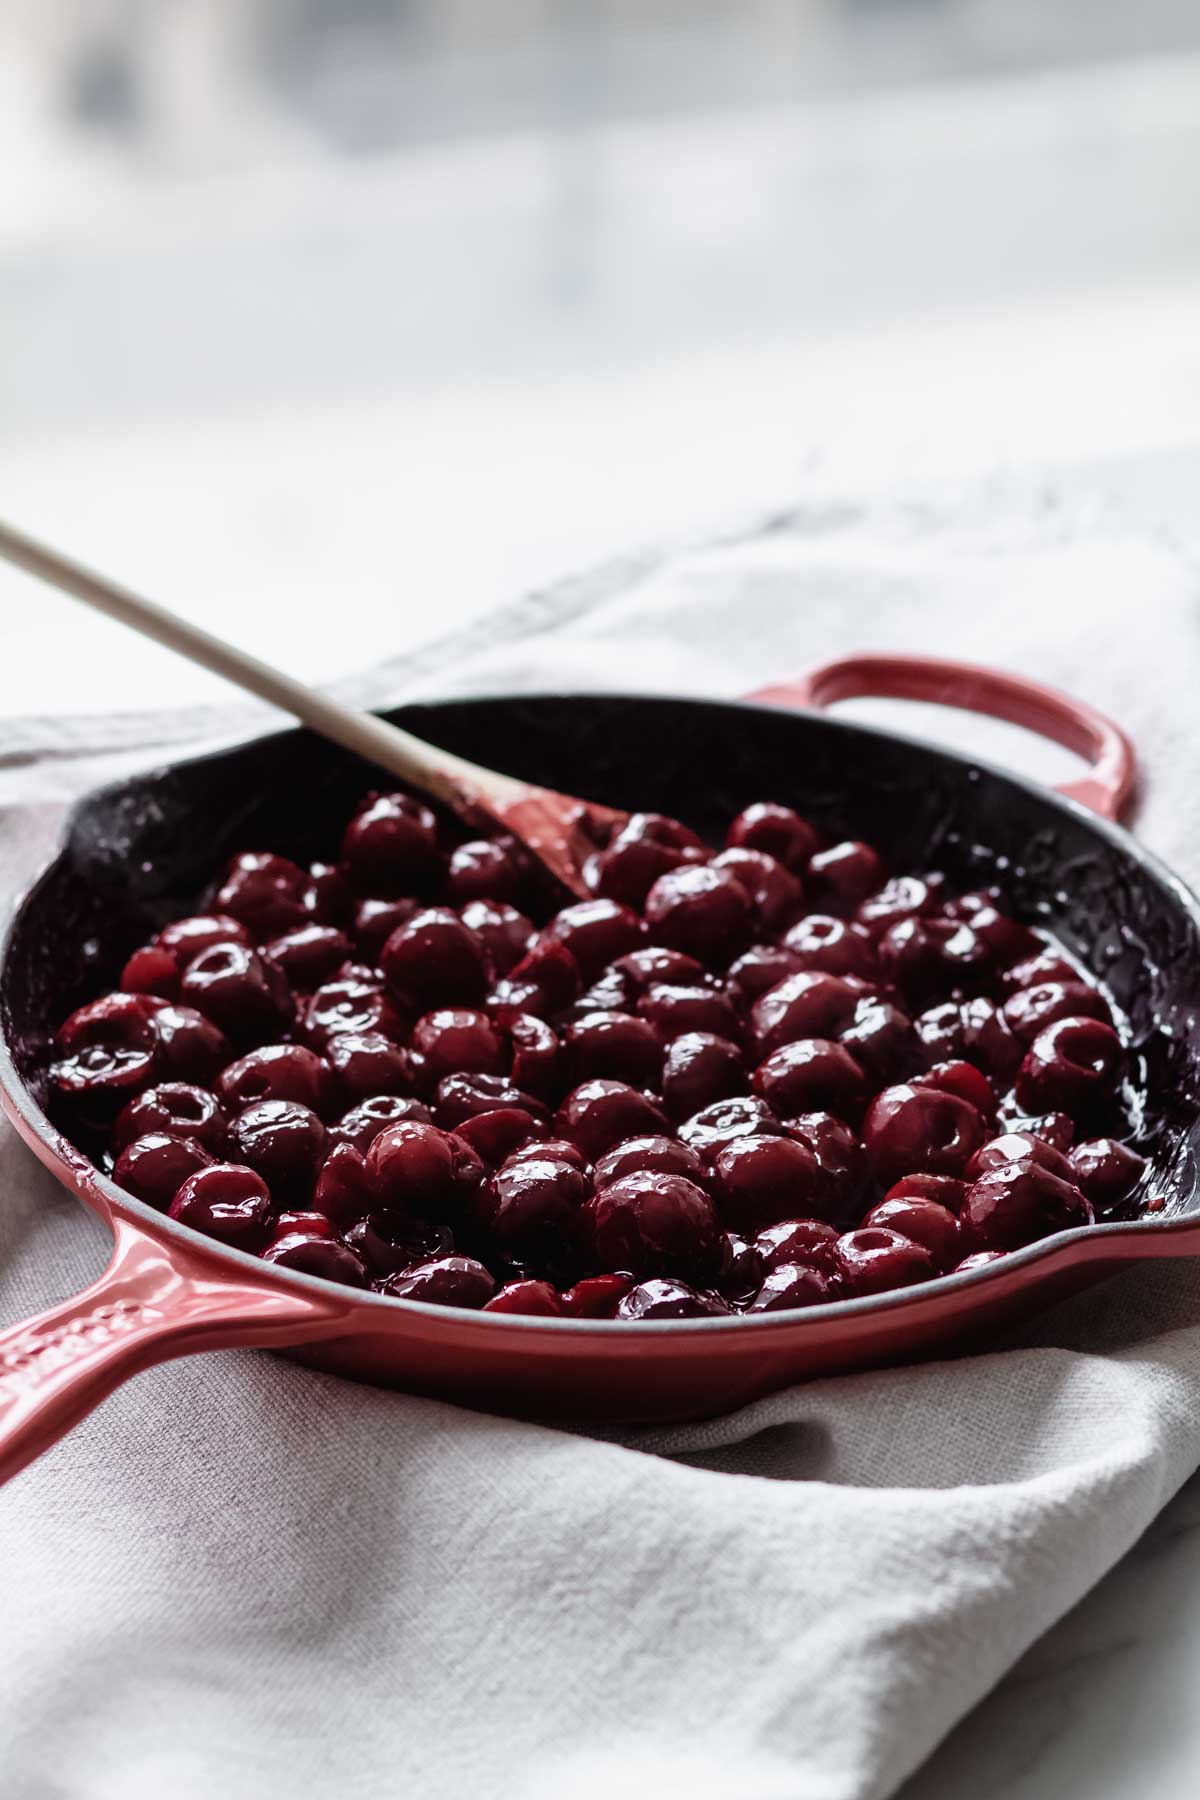
In testing this recipe, I found that cooking the cherry filling ingredients on the stove for a few minutes before baking did wonders to reduce soupiness (a common, very sad filling problem) and concentrate the flavor.
Why cook it first when it will cook in the oven, you ask? Because cooking the filling allows the sugar to melt into the cherries and help form a syrup, and also gets the filling hot enough for the cornstarch to do its job and thicken the mixture.
I have found that in pies and some crisps and cobblers, soupy fillings are the result of too much liquid and not enough time at temperature for the cornstarch to actually work. Cooking the filling first solves the problem by evaporating excess water and getting the mixture to boiling quickly, so the cornstarch activates and thickens it.
You can cook the filling and then bake the cobbler all in one oven-safe skillet – I used my cast iron skillet – but if you don’t have one or prefer not to, you can cook the filling in a medium saucepan and then bake the cobbler in a 2-quart baking dish.
The Biscuit Topping
For this cherry cobbler, I used the same soft, buttery drop biscuit dough that I use in my forever favorite, peach cobbler. This biscuit dough is not finicky and is very forgiving, which I think is important in a rustic cobbler.
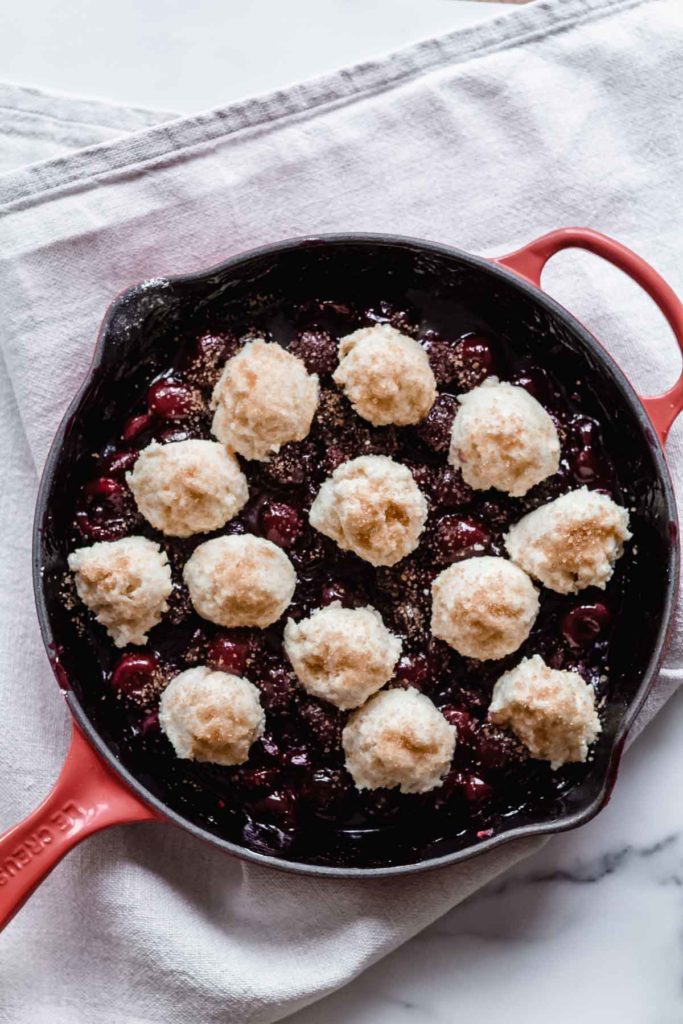
Making the biscuits is simple: just whisk the dry ingredients together, cut in very cold butter with a fork or my preferred method, your fingertips, until it is in very small pieces, and then add milk of choice until a dough is formed. Then all you have to do is scoop and drop the dough over the filling – no rolling and cutting here.
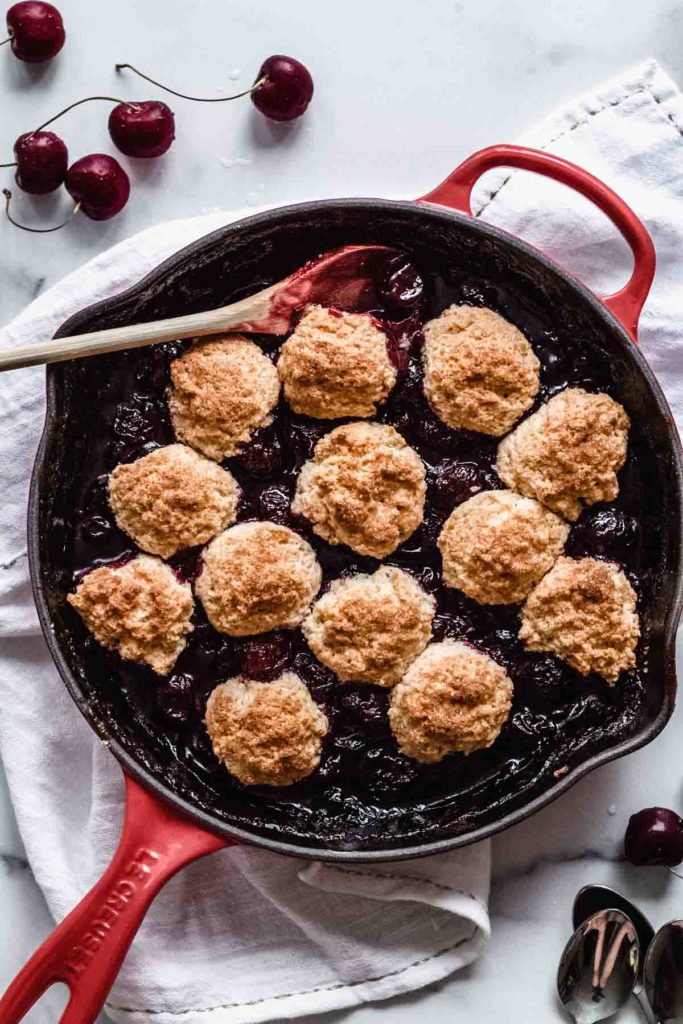
You can make the biscuits larger or smaller depending on your preference. I liked making smaller, tablespoon-sized biscuits so I could have biscuit topping in every bite.
To get a crisp exterior on the biscuits, brush them with a little melted butter and sprinkle with coarse or turbinado sugar before baking. They’ll develop a beautiful golden, crunchy crust that is delightful to shatter with a spoon. Life isn’t giving us much to celebrate in 2020, but I celebrate that moment.

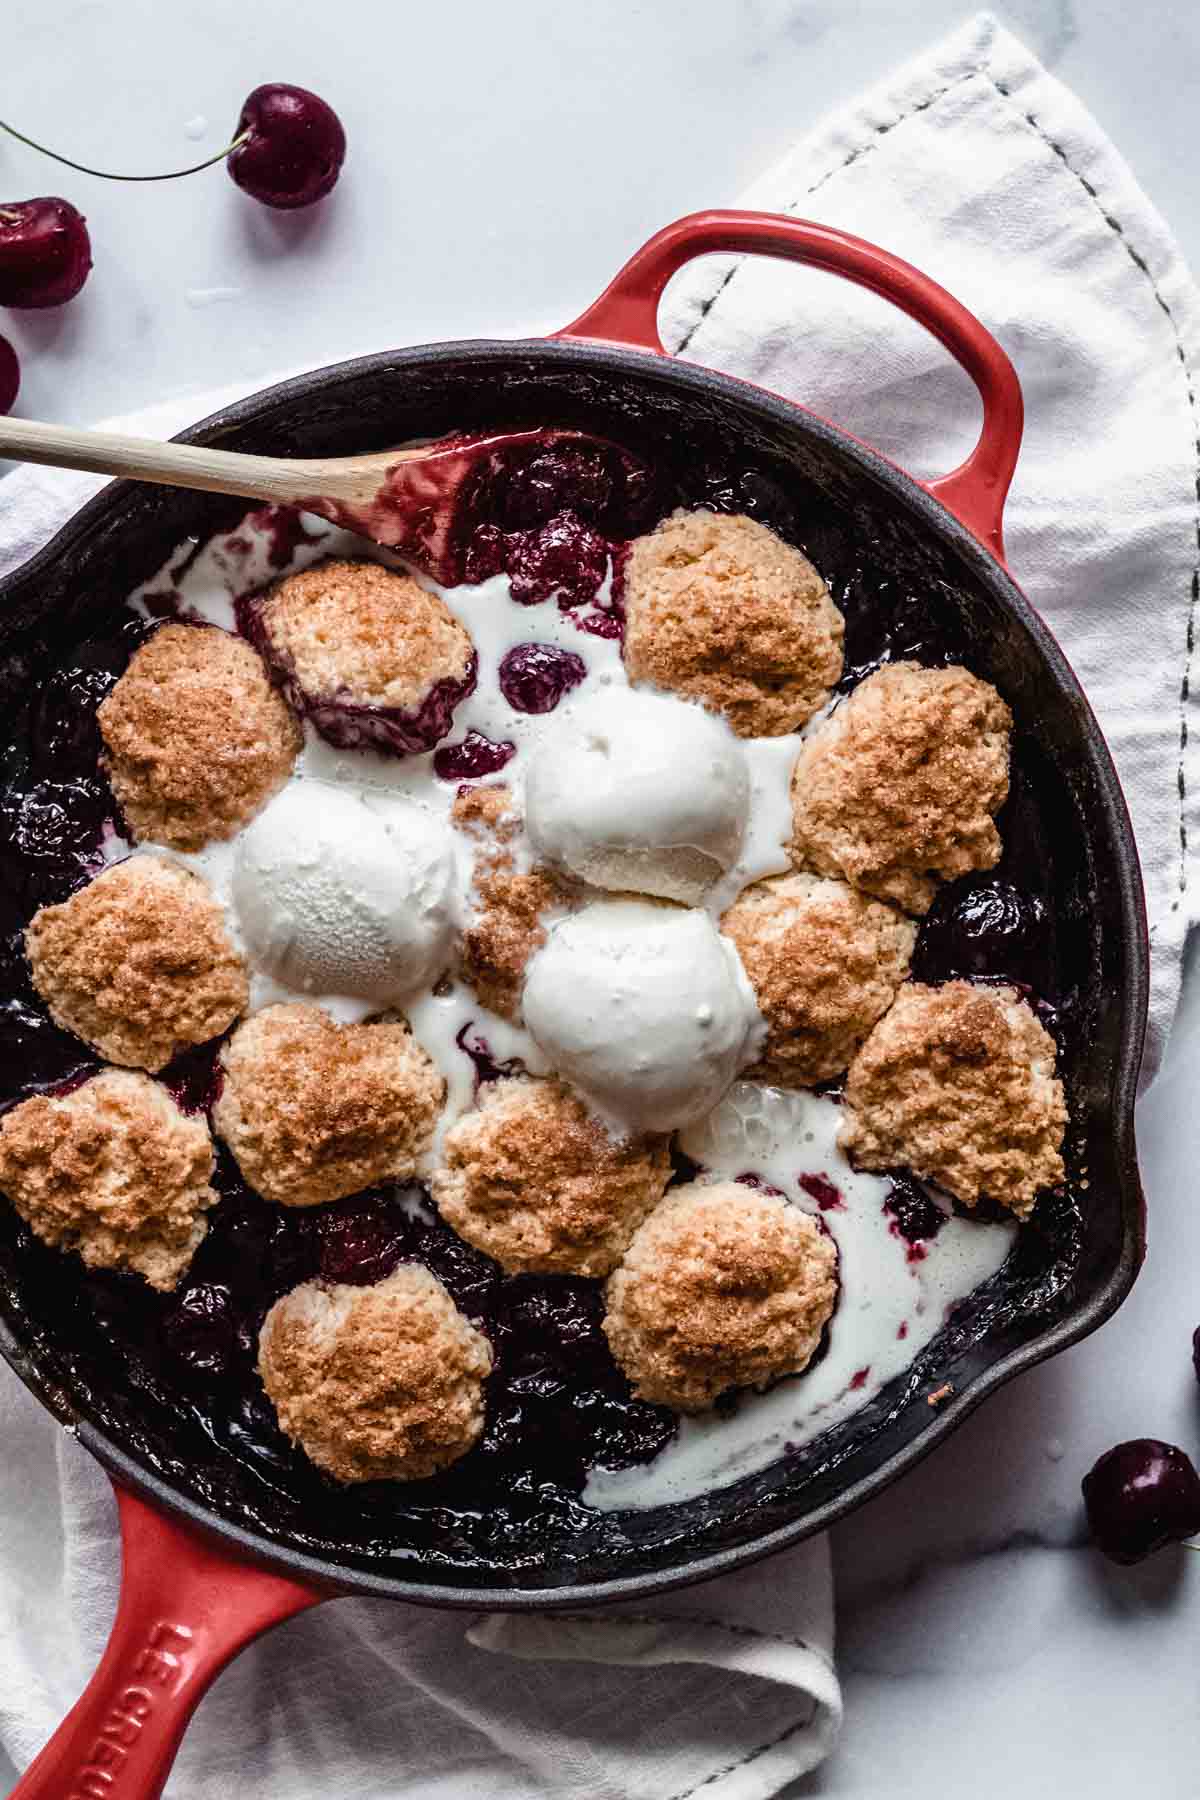
Your Finished Cherry Cobbler
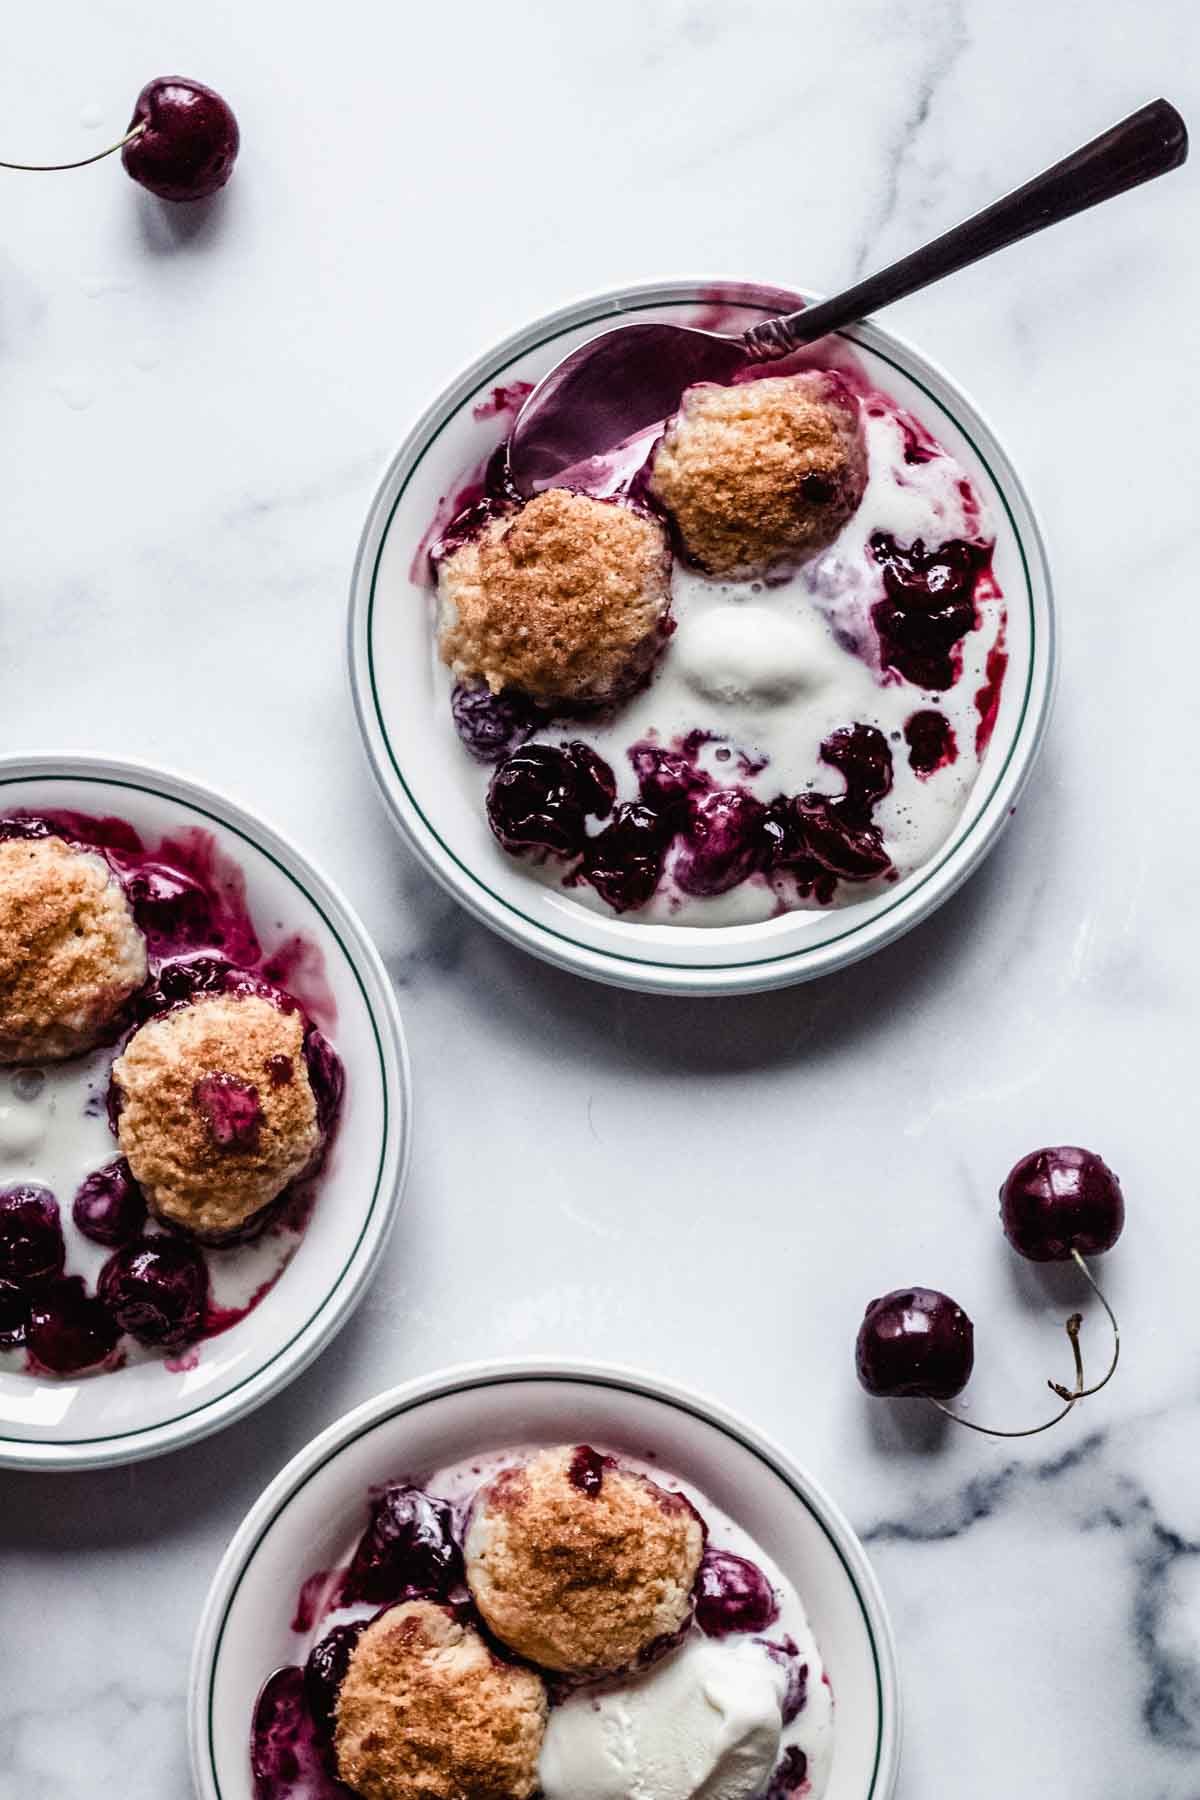
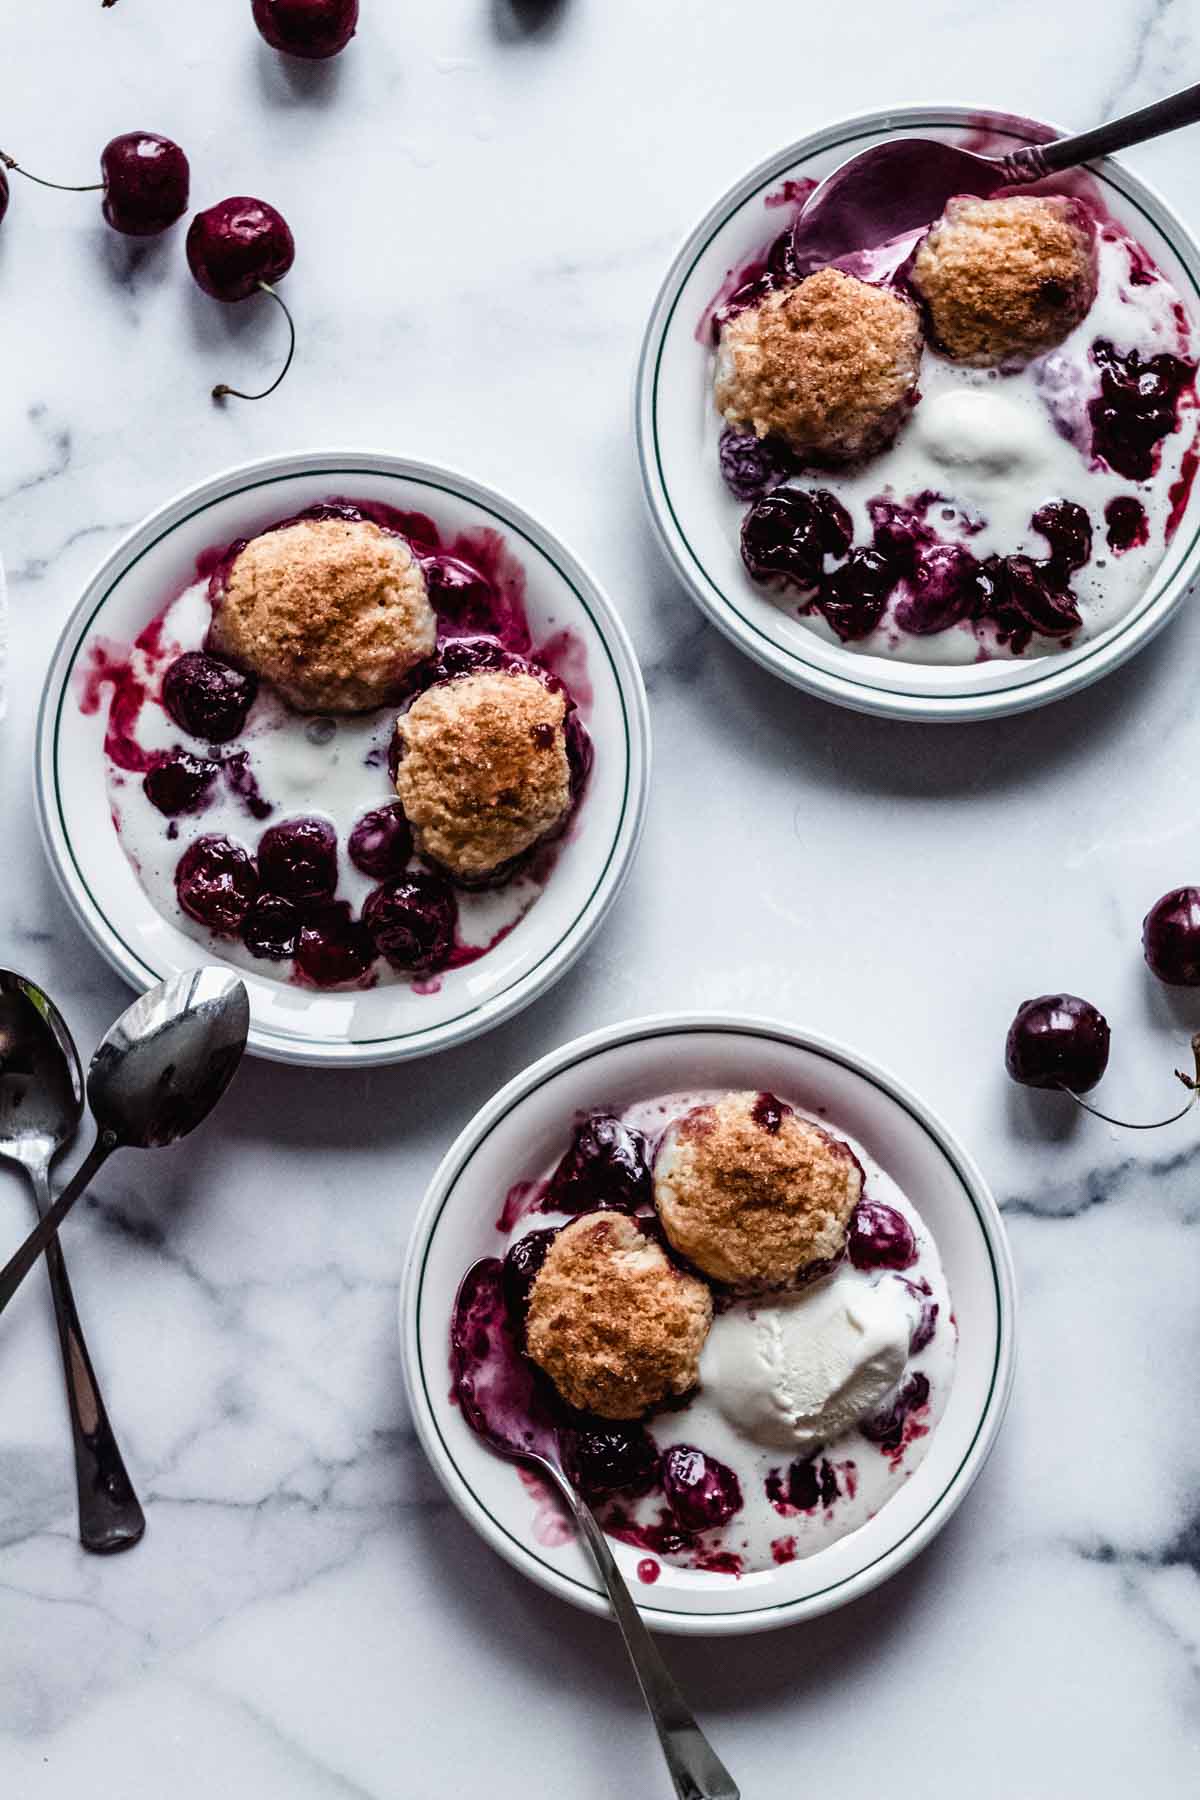
Once the cobbler has spent some time languishing in the oven, it’s time to break out the vanilla ice cream or whipped cream and dig in. Personally, I’m not sure you need to bother with bowls, but I suppose we must be civilized sometimes.
If you want to prepare this cobbler ahead of time, I’d recommend cooking the filling in advance but making the biscuit dough right before baking. The baking powder in the biscuits doesn’t lend itself to sitting for long periods of time – it needs to be baked immediately as the reactions are already happening. You could also fully bake the cobbler in advance, store in the fridge, and gently warm in the oven when it’s time to serve. The biscuits may have soaked up a bit of the filling on the bottom, but will still be delicious!
I hope you take some time to enjoy one of summer’s best fruits in this amazing format. I haven’t been posting much this year, but please know that I so appreciate every comment and note I receive from you, both here and on Instagram. This year is a struggle for us all and every little bit helps. I hope this recipe brings you a moment of peace and joy!

Cherry Cobbler
Ingredients
For the cherry filling:
- 2 lbs fresh sweet cherries (907g)
- ⅓ cup granulated sugar (65g)
- 1 Tbsp cornstarch (7g)
- 2 Tbsp lemon juice (28g)
- 1 tsp vanilla extract
- ¼ tsp almond extract
- Pinch of salt
For the biscuit topping:
- 1 cup all-purpose flour (130g)
- 1 Tbsp granulated sugar (12g)
- 1 ½ tsp baking powder
- ½ teaspoon salt
- 3 Tbsp unsalted butter cold and cubed (42g)
- ½ cup milk of choice (use half and half for even richer biscuits) (113g)
- 1 Tbsp unsalted butter melted, for brushing over top (14g)
- 1 Tbsp turbinado or granulated sugar for sprinkling (12g)
Instructions
For the cherry filling:
- Preheat your oven to 375 degrees F. Pit the cherries (I highly recommend a cherry pitter for this). Slice about half of the cherries. Place all cherries in a 12-inch oven-safe skillet (or a medium saucepan) with remaining filling ingredients.
- Cook, stirring frequently, over medium heat until mixture is bubbling and becomes syrupy, about 5-7 minutes. Remove from heat and set aside while making biscuit topping. If not using an oven-safe skillet, transfer cherry mixture to a 2 qt baking dish and set aside.
For the biscuit topping:
- In a medium bowl, whisk flour, sugar, baking powder, and salt until thoroughly combined. Using your hands, massage the cold butter into the flour mixture until it resembles wet sand. There may be some larger pea-sized butter pieces remaining and that’s ok.
- Stir in the milk until a cohesive dough is formed. Drop dough by tablespoons over the cherry mixture. Brush tops of biscuit dough with melted butter, then sprinkle with the turbinado sugar.
- Bake for 25-30 minutes, or until the biscuits are golden brown and you can see the cherries bubbling up the sides.
- Let cool for a few minutes before serving warm with vanilla ice cream. See how long it lasts.
Notes
Tried this recipe?
Please consider leaving a rating and review!Like this recipe? Please rate it and leave a comment or tag me on Instagram @katiebirdbakes, and sign up for my email list to receive my recipes straight to your inbox every time I post!
I made this last night, it was fantastic. My husband isn’t a cobbler fan and he loved it too. He said it was the best cobbler he’d ever had. Your recipe was easy to understand and the results were amazing. I used frozen cherries and it worked perfectly.
Fabulous! Thank you Luisa!
This is absolutely gorgeous! Thank you so much for sharing!!
Thanks Anna! Hope you enjoy it!